
Ready for some more mini dressen fun? Today, I’m sharing how I assemble the blades for the Minnie Dresden Pinnie and also some tips for preparing the center circle. Find Part 1 of this series here, and find the Mini Dresden Pinnie Tutorial here.
You should have all 18 of your blades now cut and ready. First, take each blade and fold in half lengthwise, right sides together. It should look like this.
 Sew along the top edge, using a 1/4 inch seam. I like to keep the folded part towards me as I feed the blades into the machine, but either way works.
  Keep on feeding them through, one at a time until all 18 are sewn together into one long chain.
 Snip the threads between each blade, being careful not to cut any fabric.
 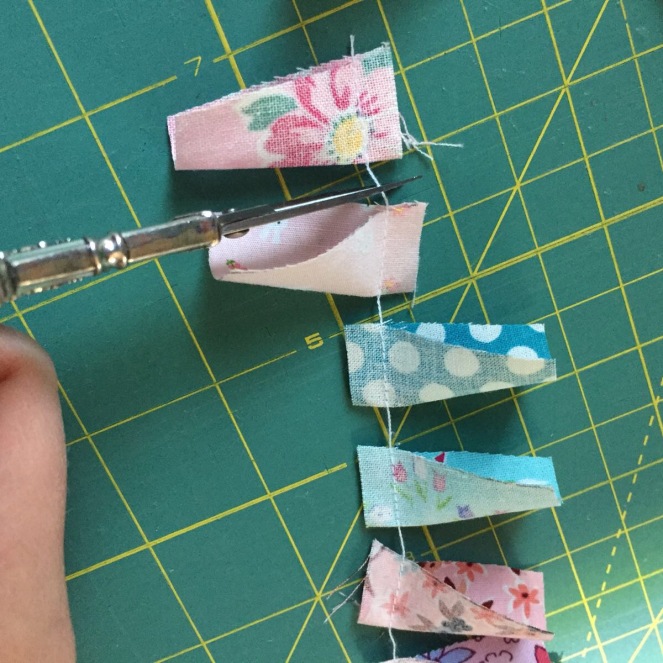 Next, turn each blade right side out. I use my Clover Point to Point Turner to gently ease the point out. Continue flipping and easing until all 18 blades are right side out.
 Time to iron! Using a hot iron, with steam, I start with each blade right side down. Use your finger to get the seam you just created as close to the center as you can and carefully press the blade flat.
 Continue until all 18 blades are pressed flat. Now, arrange the blades within reach of your machine, to find a pleasing layout. I try not to overthink this, but like to keep colors and patterns varied around the circle, i.e. not all the florals in a row, or not two blue polka dots next to each other.
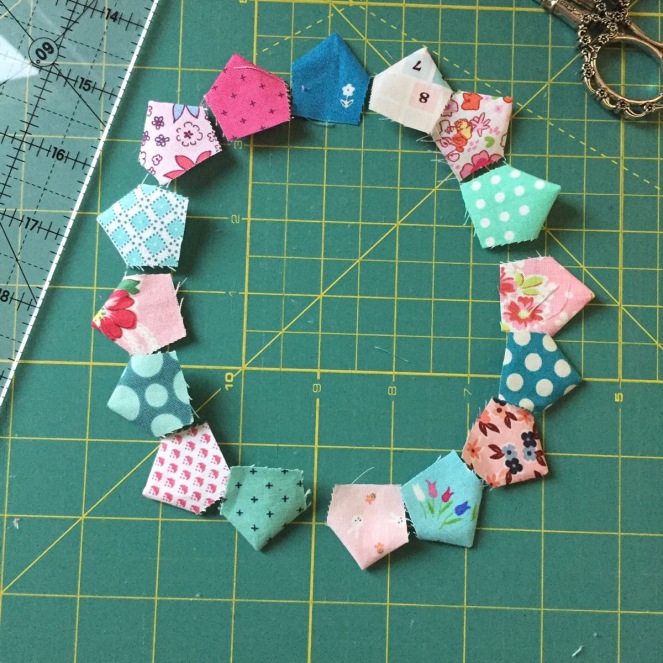 Pick up two of the blades, and put them right sides together, being careful to line up the outer points as indicated in the tutorial. I don’t worry so much about the top point, or the bottoms of each blade, but try to line up these “shoulders” carefully. Sew together using a 1/4 inch seam. I like to send the points of the Dresden blades through first, but again, it doesn’t really matter which direction you go.
 Continue until you have three sets of two. Snip these apart and then assemble them until you have one set of six.
 Continue in the same manner, creating a second and third set of six. I find this process the easiest for keeping my blades organized and not mixing up what was supposed to go where. Then sew your three sets together.
 Here’s what the Dresden looks like before it is ironed. You will notice that most of those “shoulder” points line up pretty well.
  Now, give your assembled Dresden a good press, working all seams in the same direction.
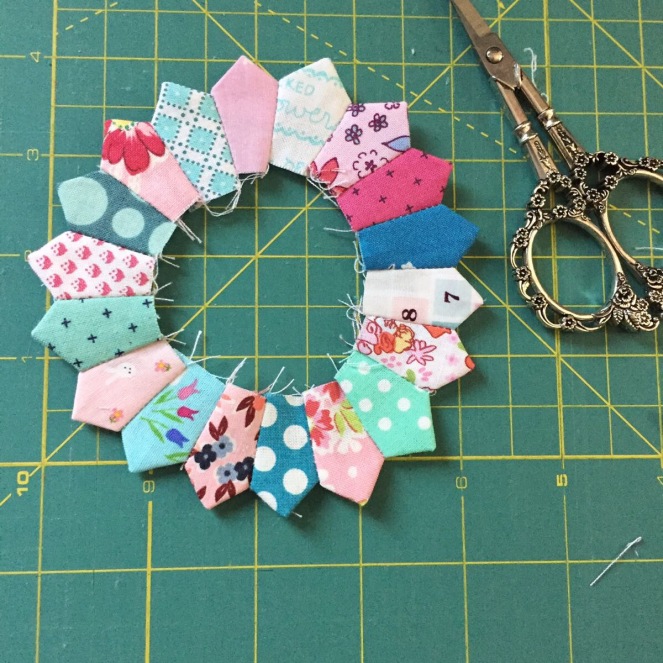 You will notice that not all of my blades line up at the inner seams. That’s just fine, as these will be covered up when we add the center of our Dresden.
 Now, if I haven’t made a final decision on the center of the Dresden, it’s fun to audition different possibilities. Here are three that I was considering this time.

 Although they all work, I chose the bear for this pinnie. Use the provided circle template and a heat or water soluble pen to carefully trace your center. Remember that you want to print the template as provided and cut on the lines, but that the seam allowances are not included. So, when you go to cut out your center, add a 1/4-3/8 inch seam allowance around your traced line.
  It doesn’t have to be a perfectly cut circle – mine is pretty wonky.
 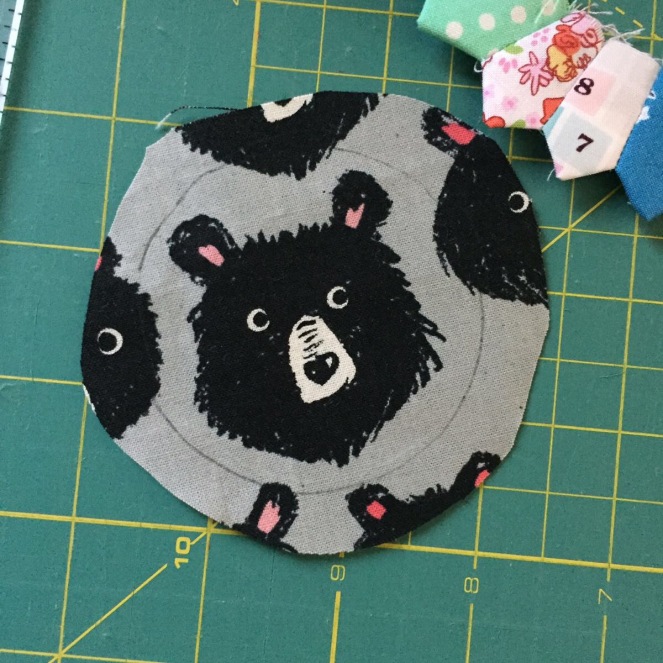 Now, increase the stitch length on your machine. I like to use a length of four. Start with a long tail of thread (since my machine has a thread cutter that I pretty consistently use, I have to manually pull the bobbin thread up to ensure I have a long tail.) Then, sew all the way around your circle, halfway between the edge and the traced line. Leave another long trail of thread when you reach where you started.
 It should look like this.
 Now, place your fabric circle right side down, and grab your cardstock template. Place it in the center of the circle.
 Now, working on one side and then the other, gently tug one thread at a time until the fabric starts to gather around the template. Keep pulling and working the gather gently, until you have a nice clean circle.
 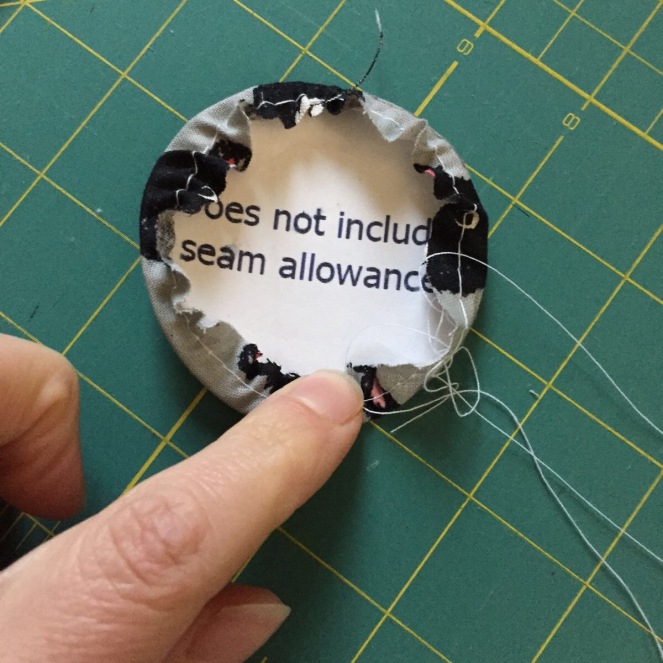 Using plenty of spray starch, iron your circle both on the front and back until it is holding its shape.
  You can tie off your thread tails (I am usually too lazy to worry about this step!) and carefully snip away the long tails. Then, ease the cardstock template out of the circle as gently as possible and give the fabric circle one more good press.
 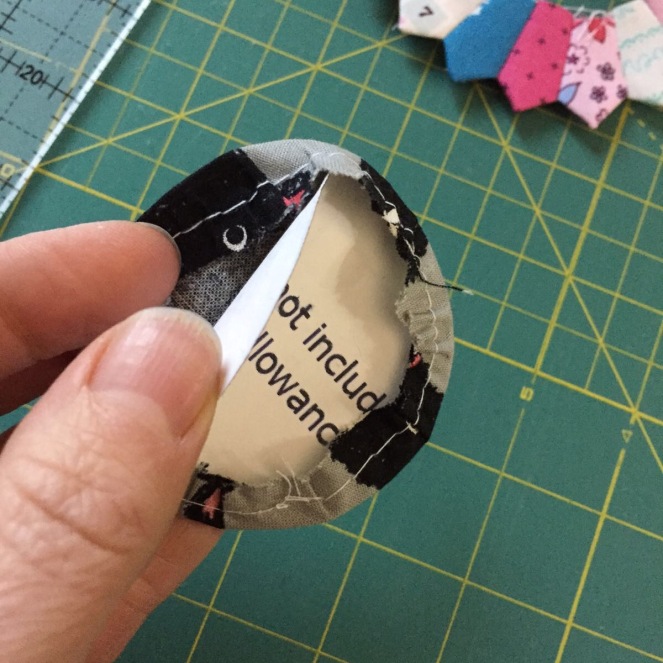 There you have it! You have an assembled Dresden blade and center circle ready to applique down.
 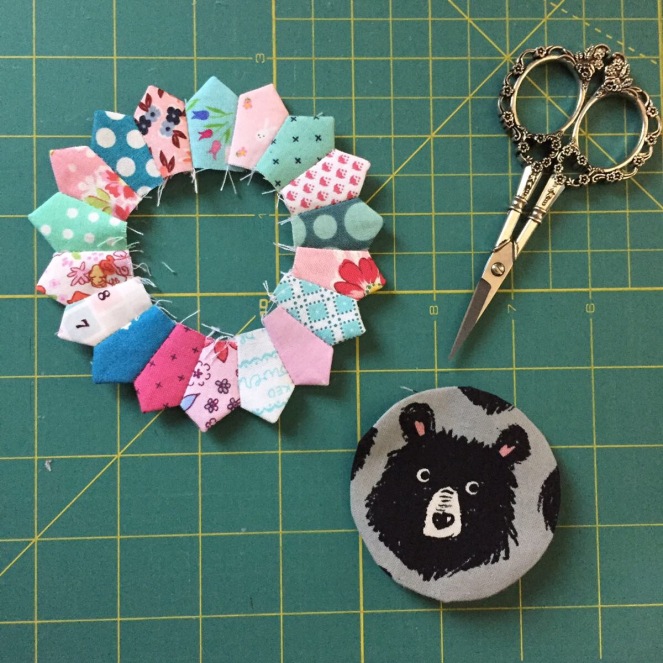 In my next post, I’ll be sharing how I applique the Dresden and add some quilting.
Thanks for stopping by! Feel free to leave a comment with any questions you have about this part of the process, or to tell me what you hope I cover in coming posts.
Check out the #minidresdenpinnie hashtag on Instragram to see lots of adorable Pinnies that have already been created. Happy Sewing!

Thanks for these tips! Just reached the point where I have to cut out my center…and I’m finding it the most difficult part- deciding which one to use!
LikeLike
Ha! Sometimes it’s so hard to choose, and sometimes I start with the center in mind!
LikeLike
Thanks for the tips. I’m working on my first one now!
LikeLike
You’re so welcome! Hope you enjoyed making it.
LikeLike