
I’ve made at least 18 quilted pillow covers this year and I have a few more in the works now. Pillows are a great project because they are quick, let you practice a block before you make a whole quilt or allow you to try out a skill like crosshatch quilting before you attempt it on a whole quilt.
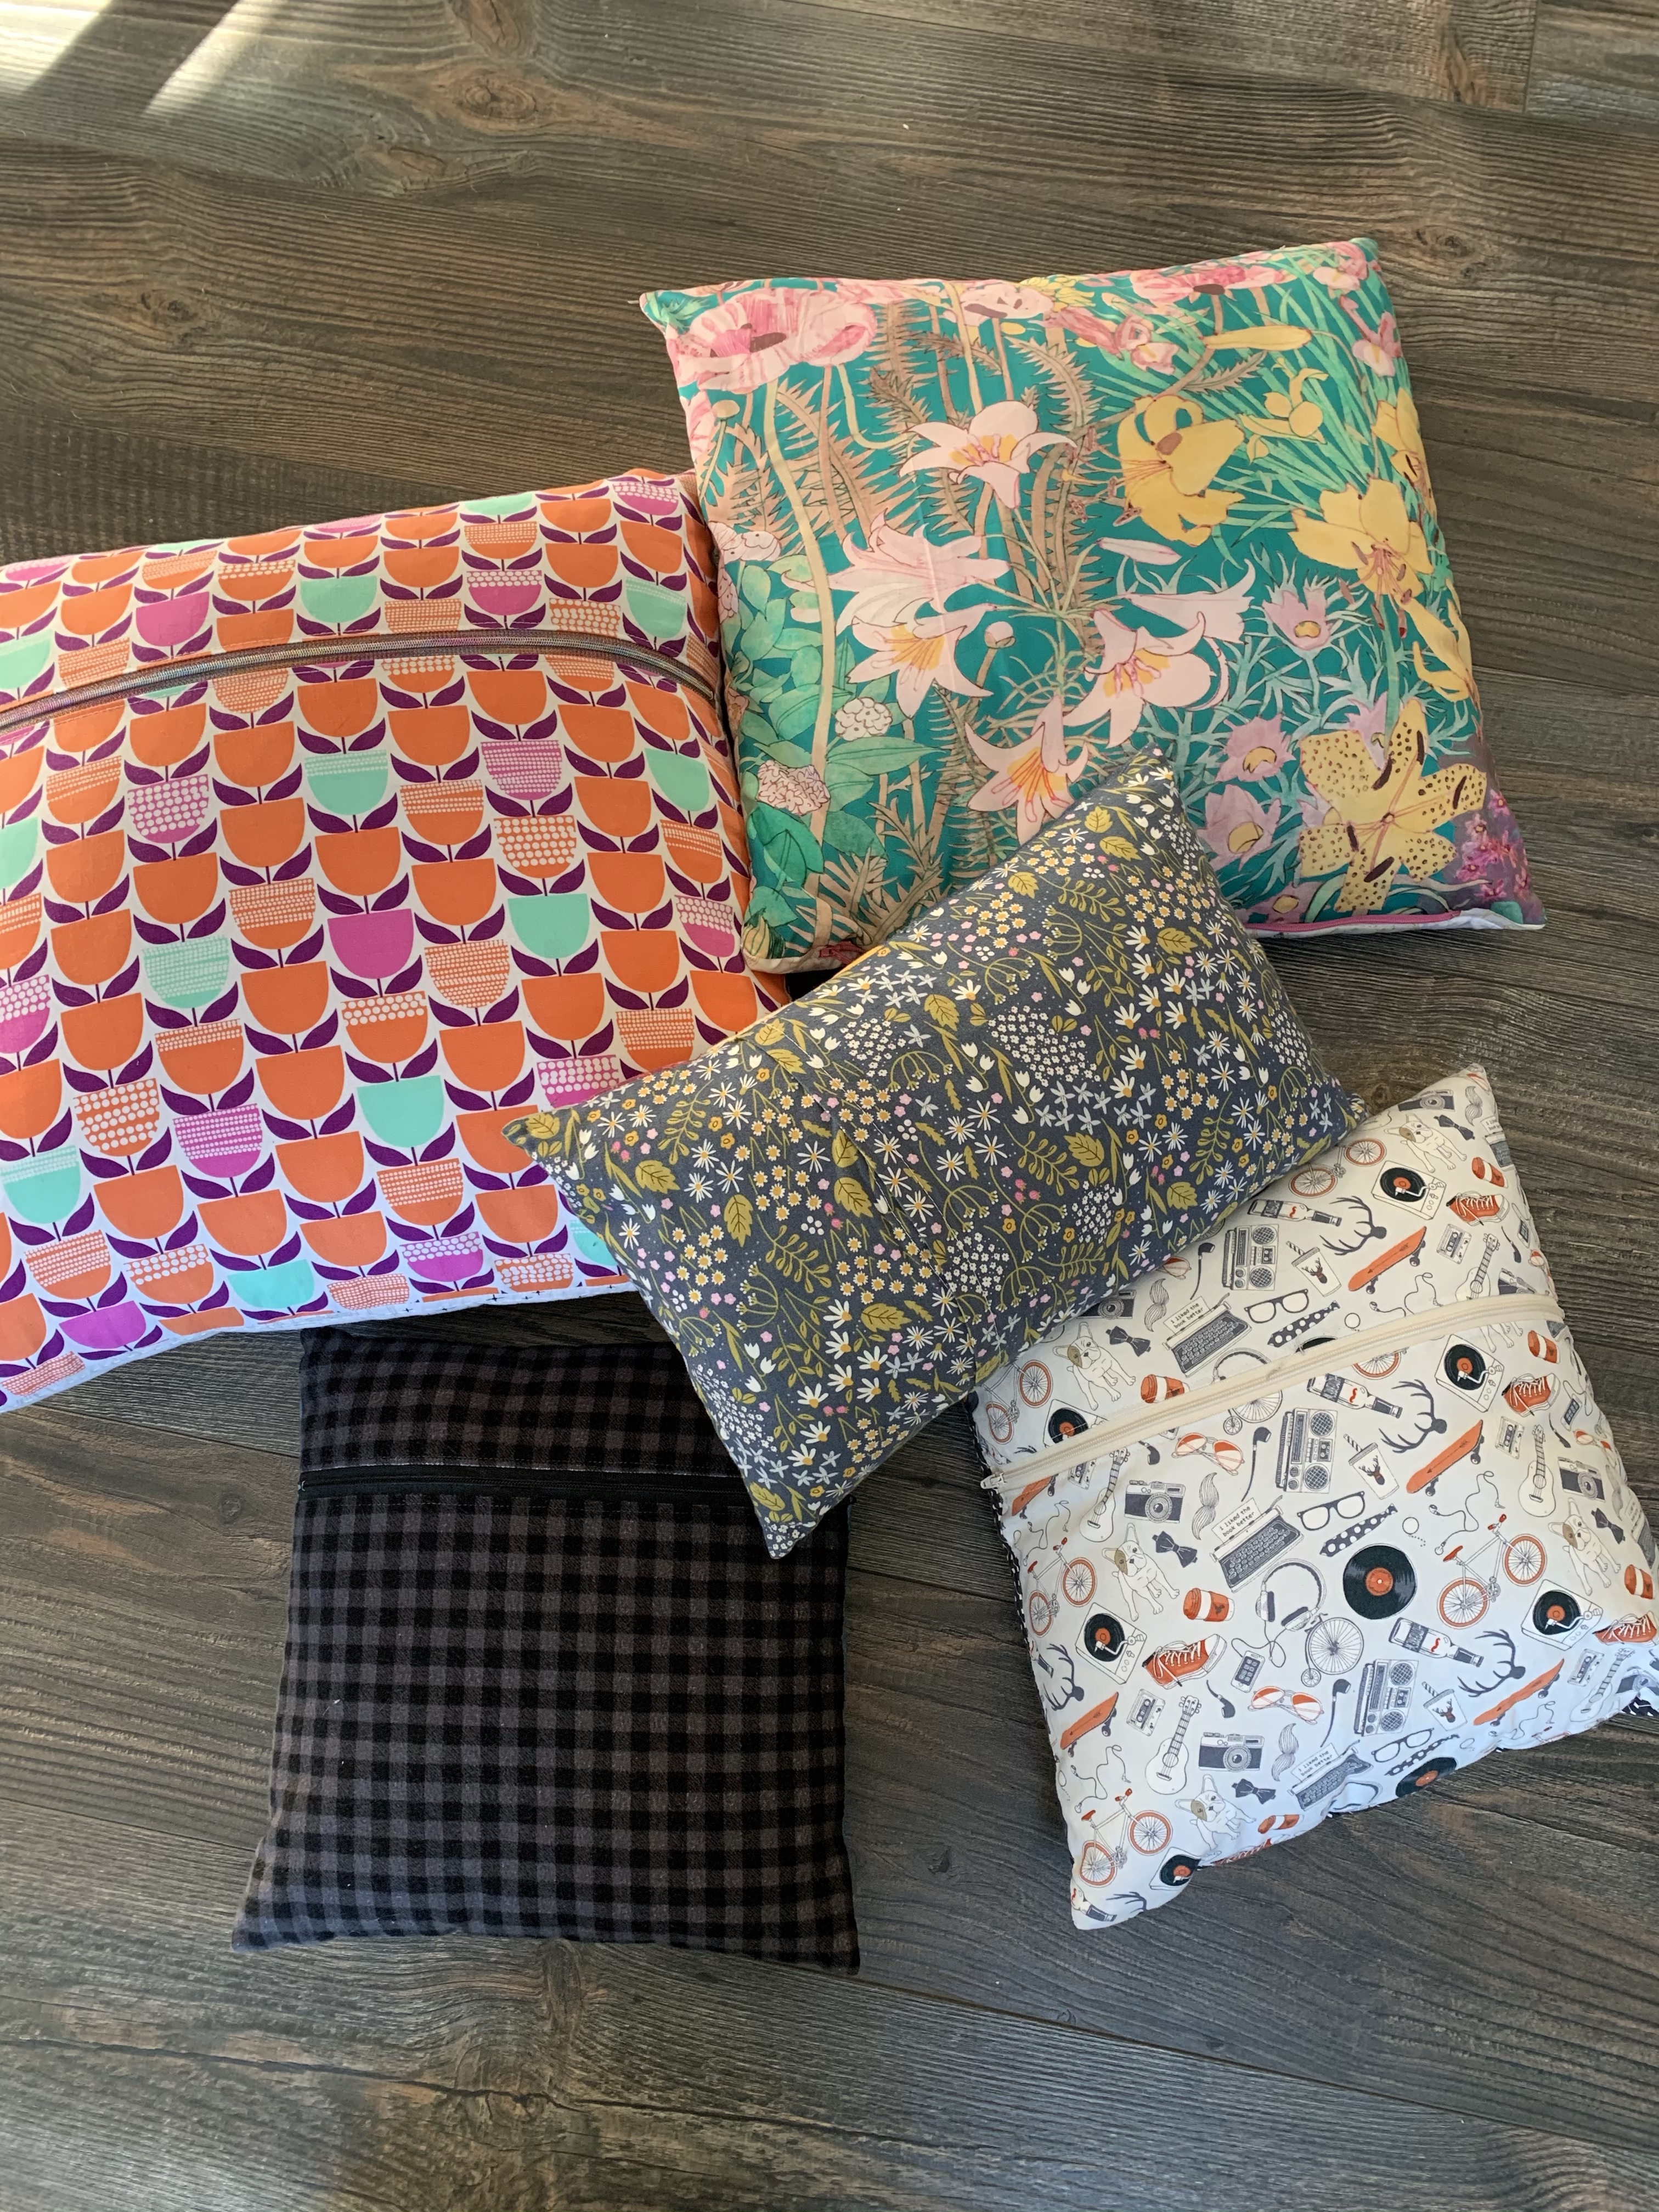
I love how they liven up a space and can be changed out to match the seasons. Here are the current pillows in rotation at my house right now.

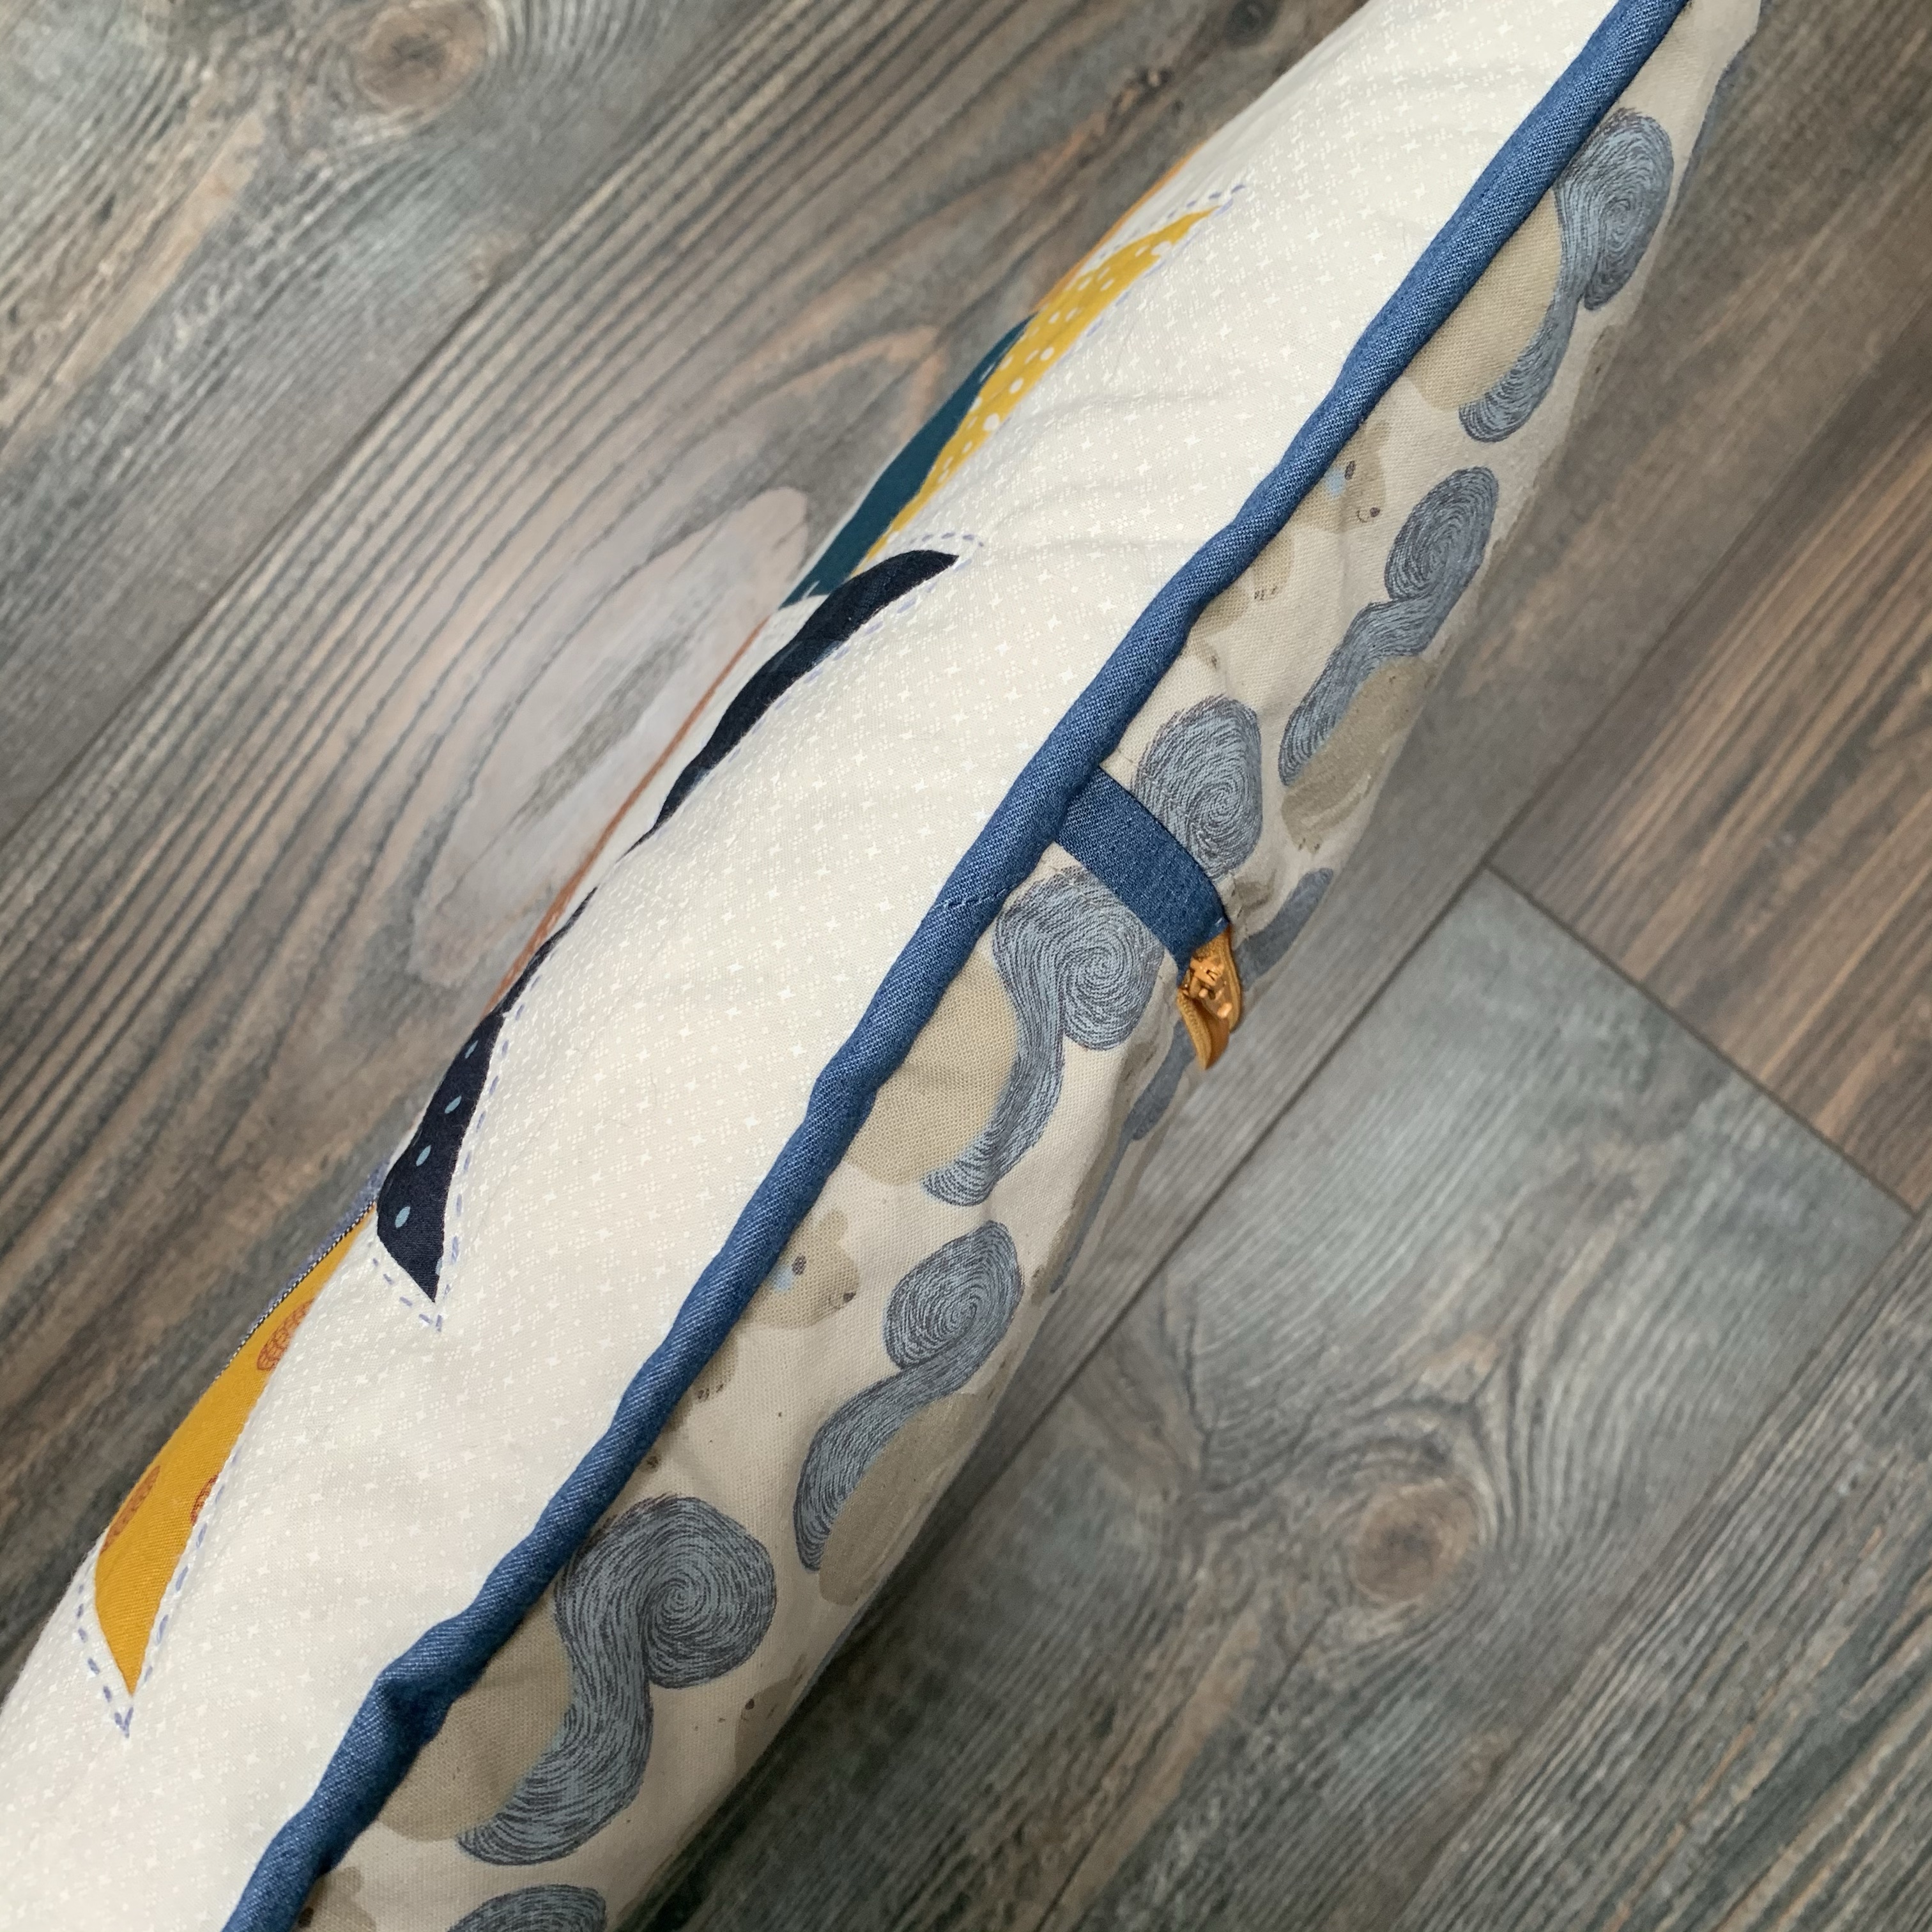
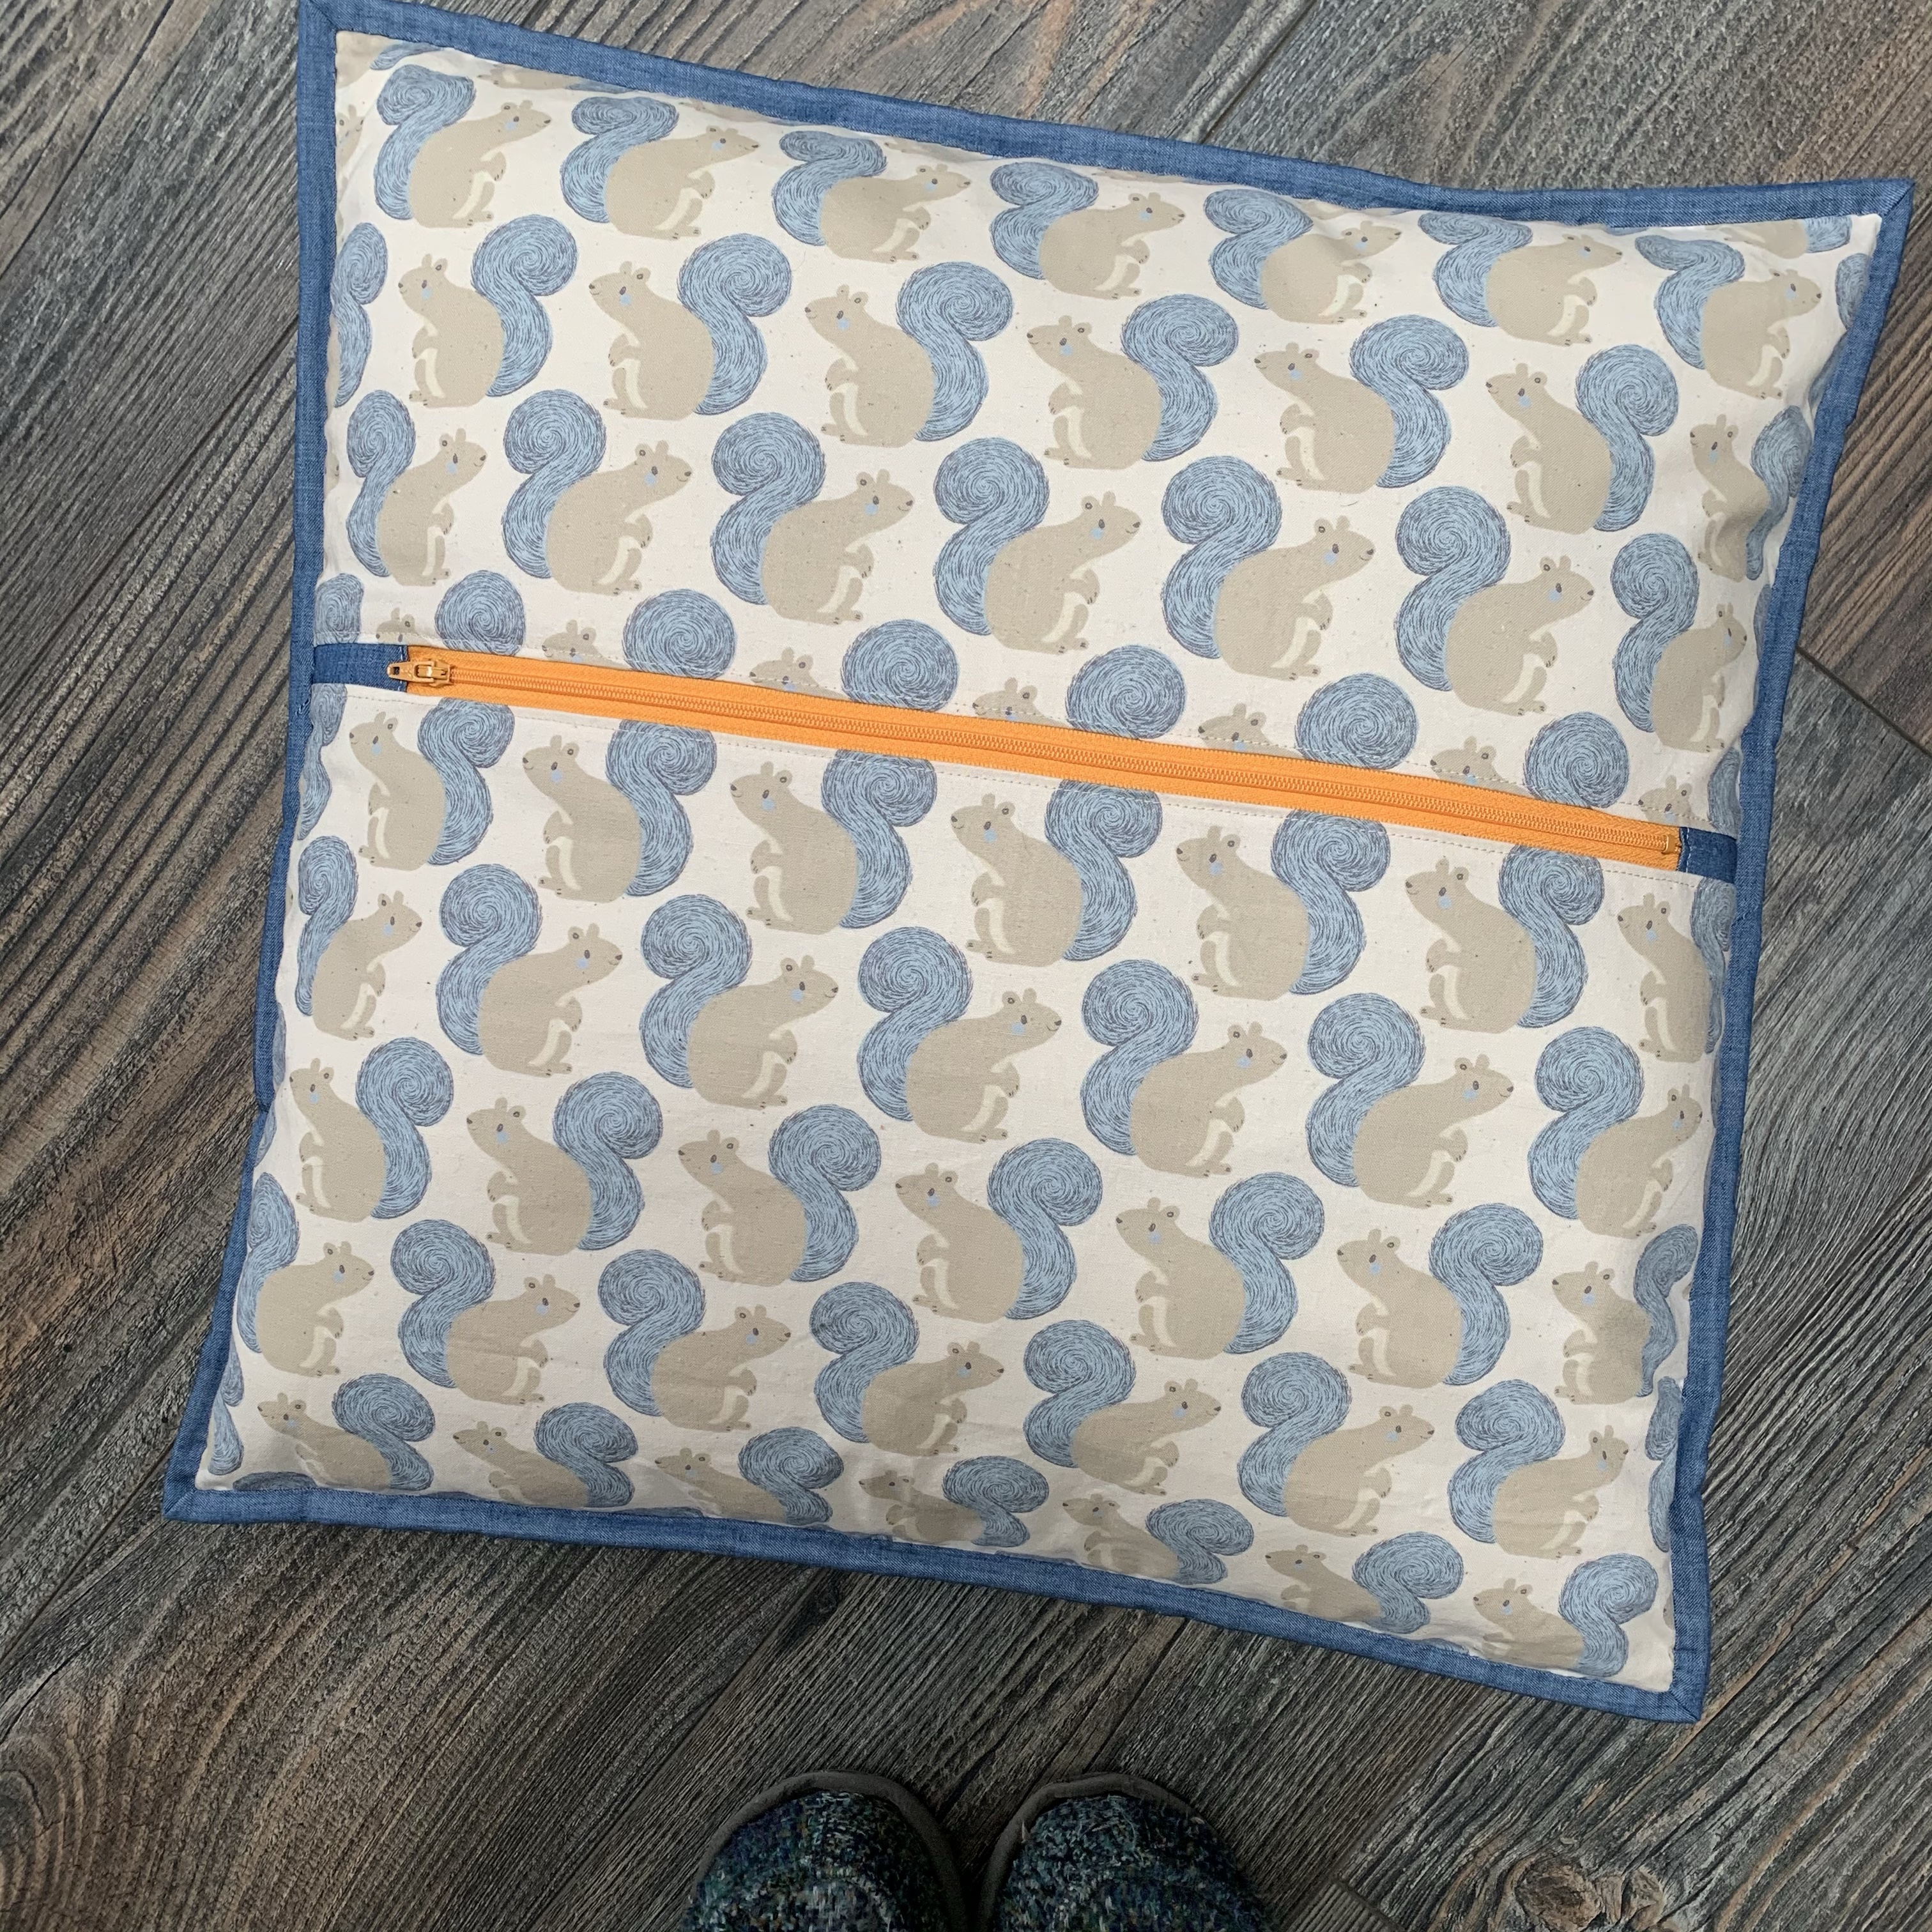
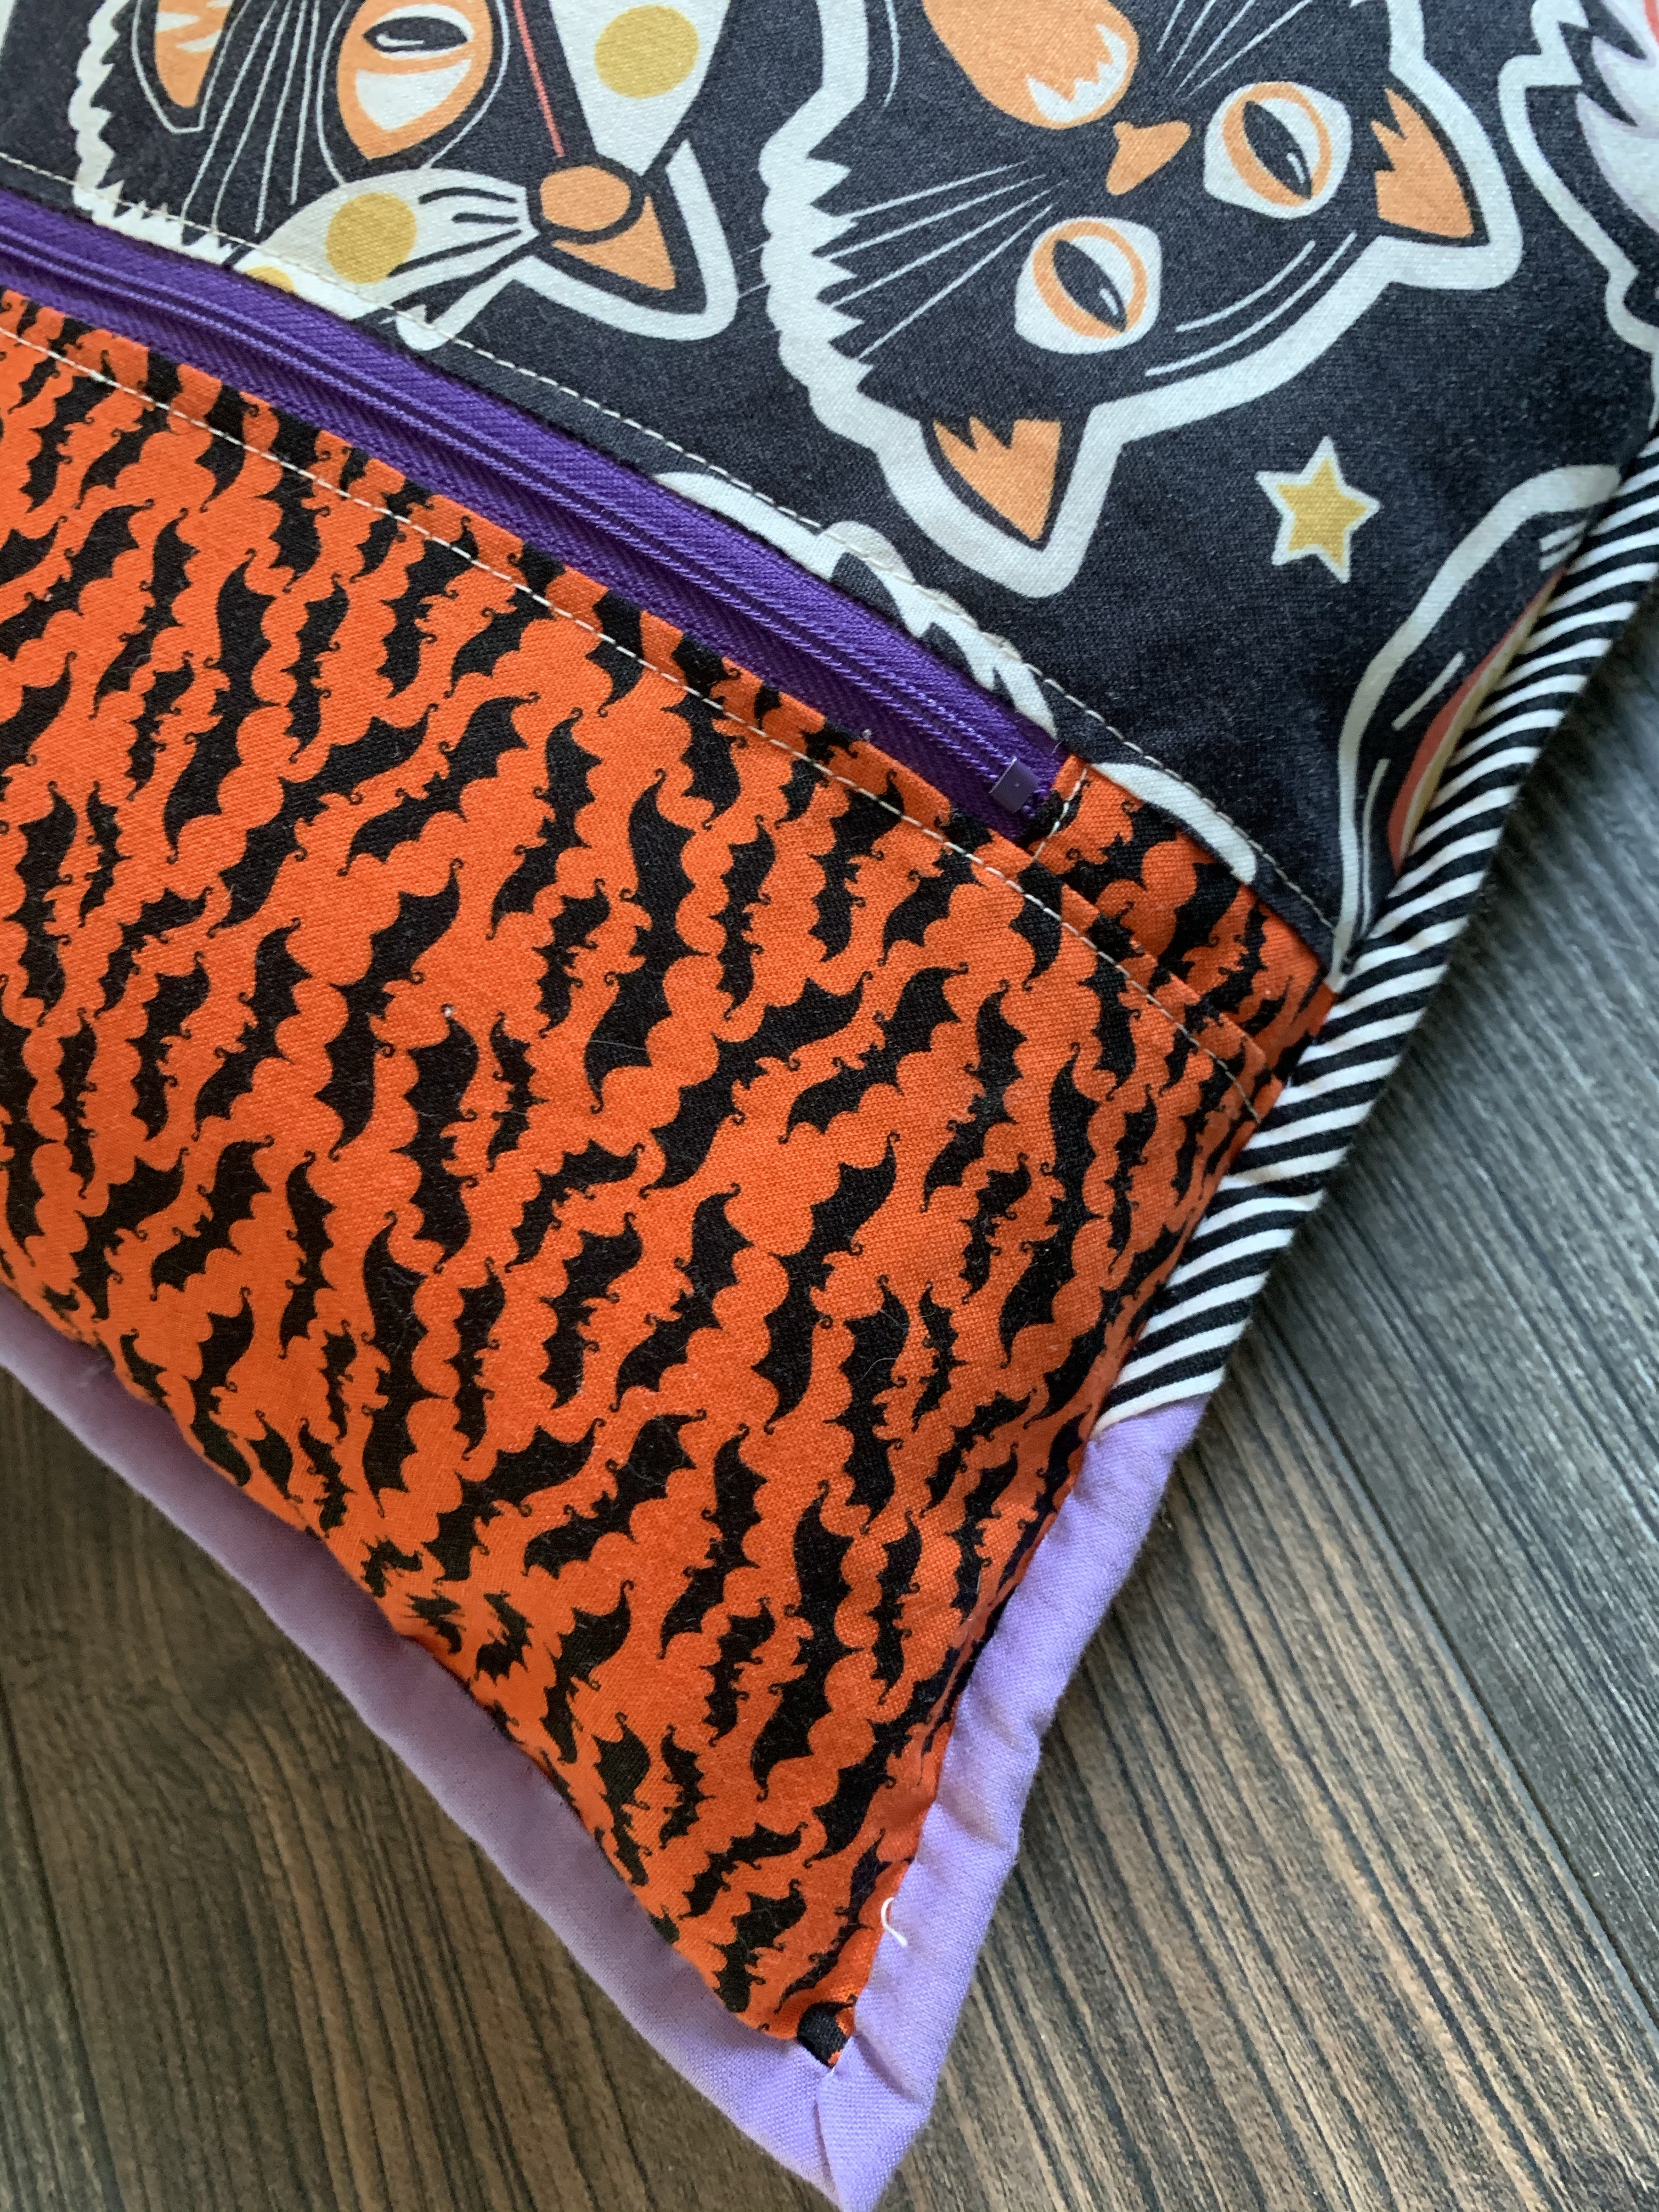
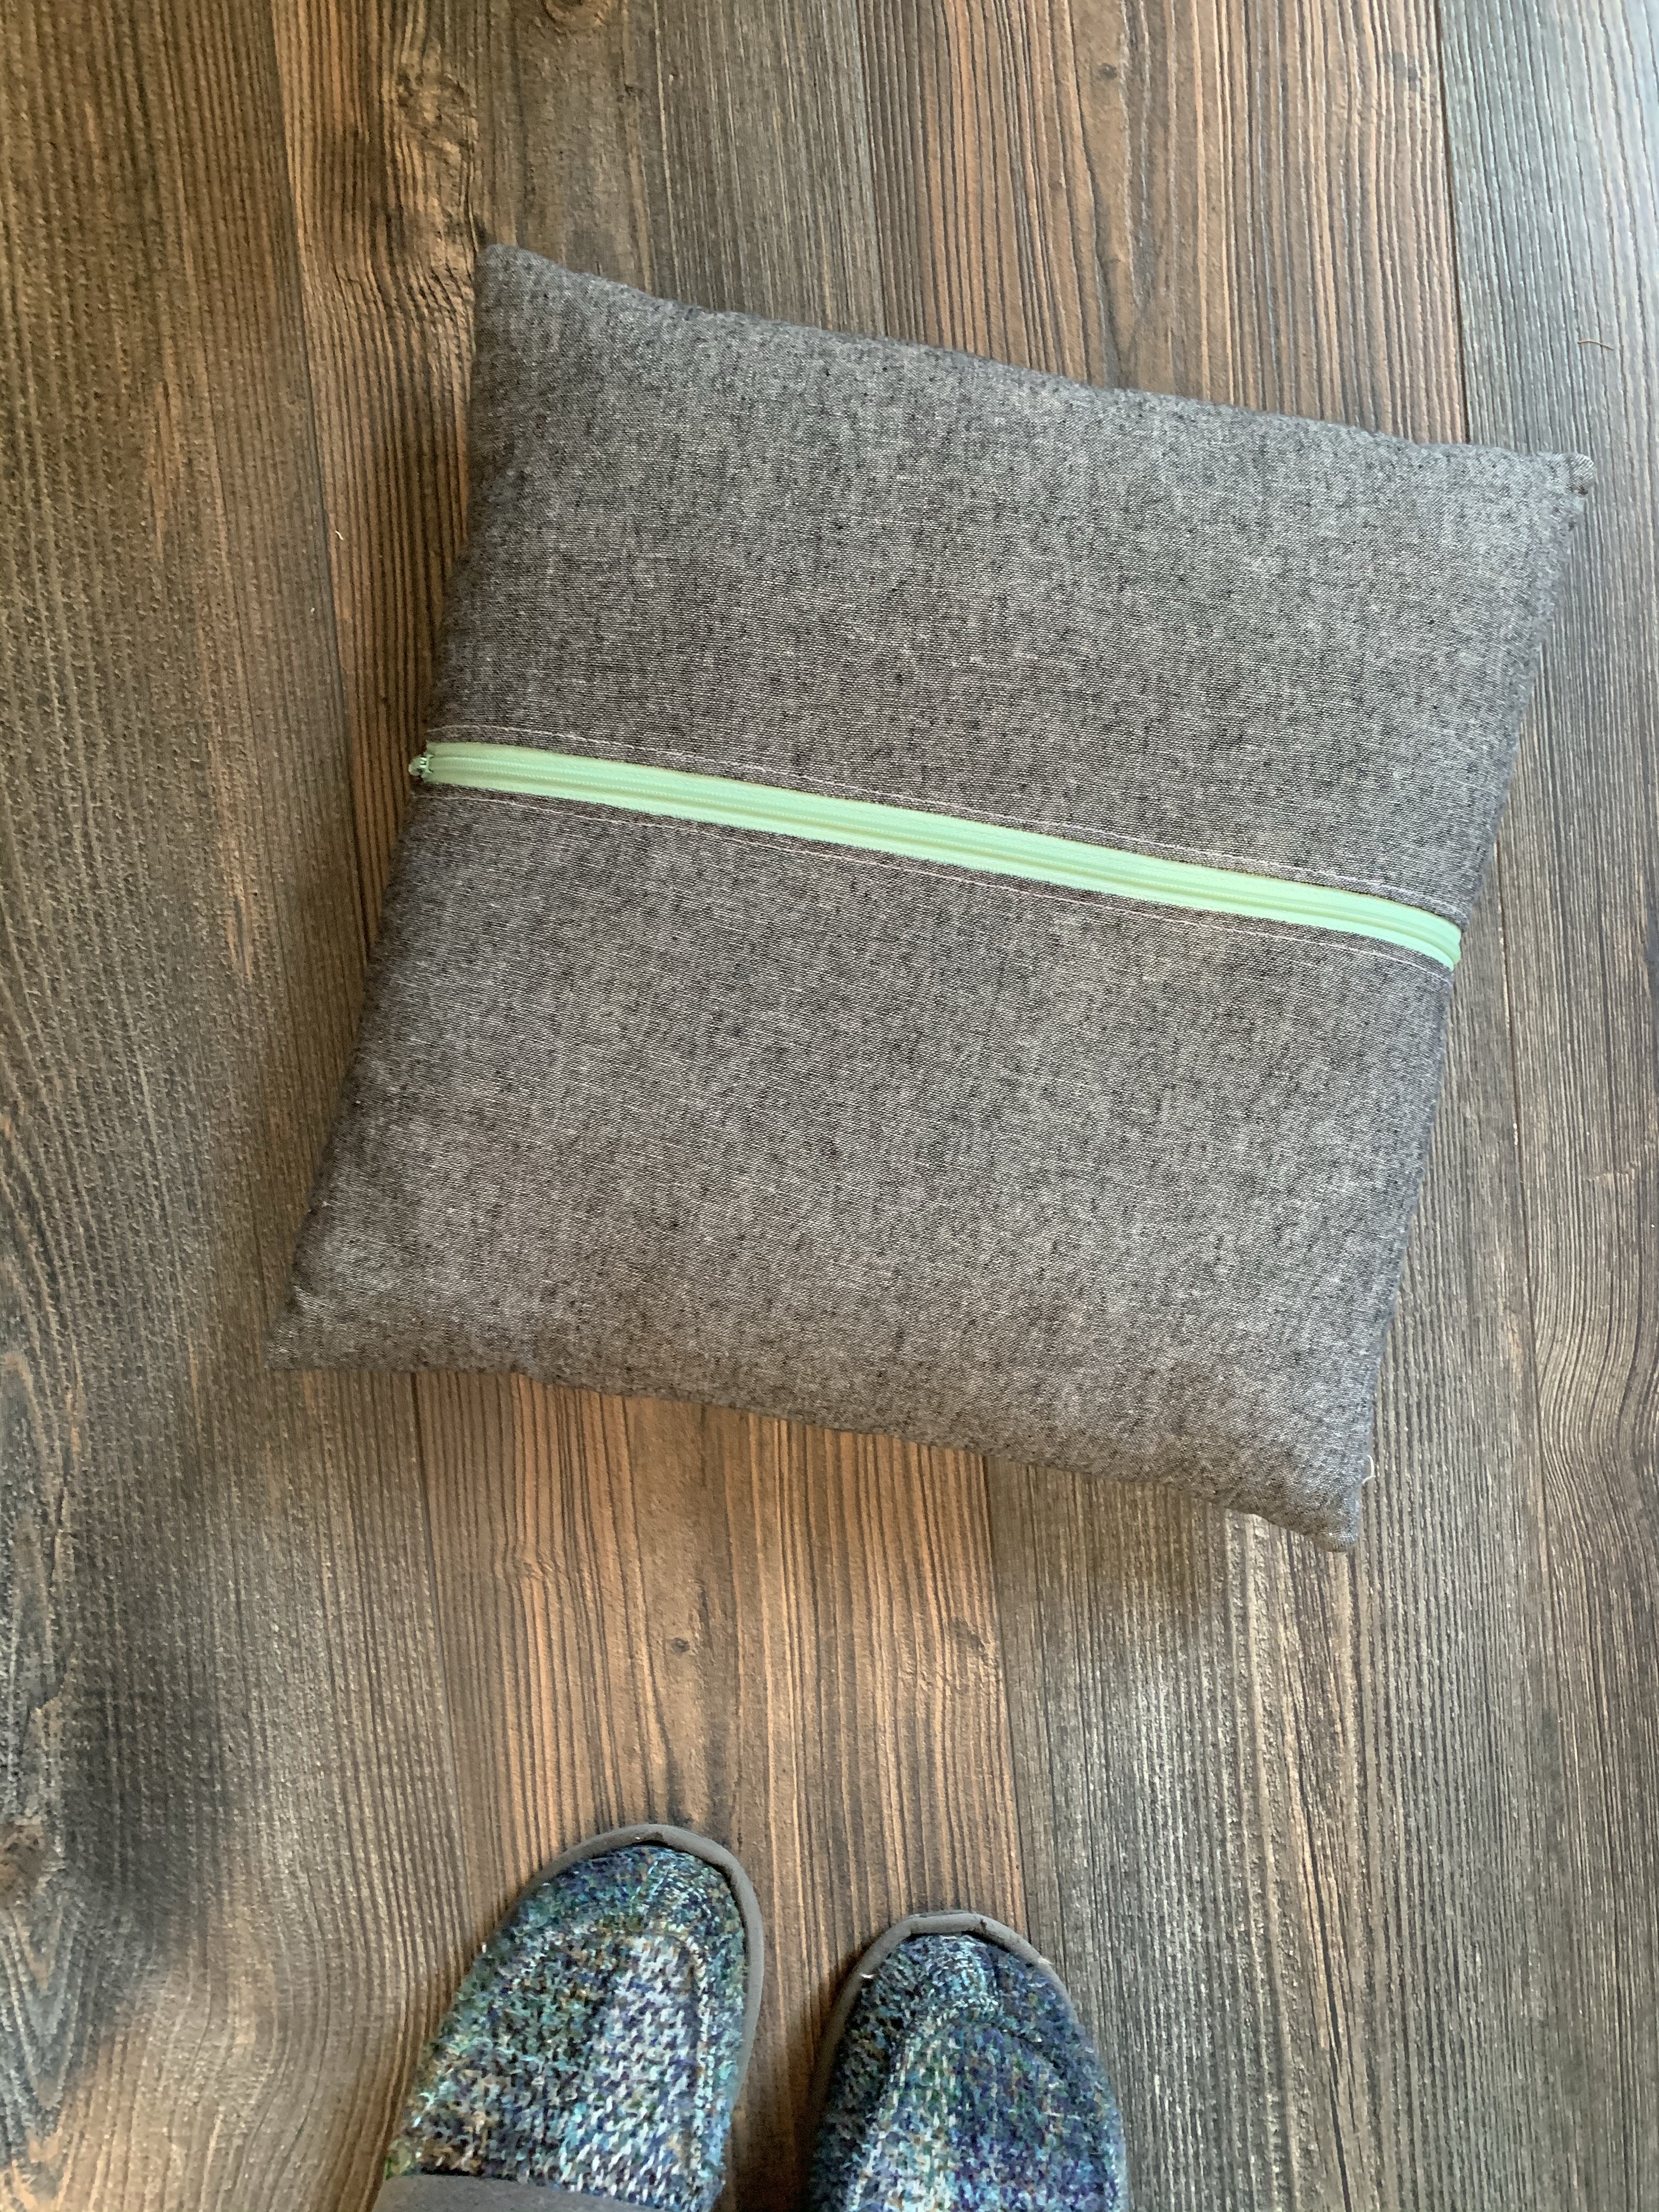
And here’s a sneak peek at the back of those same pillows.
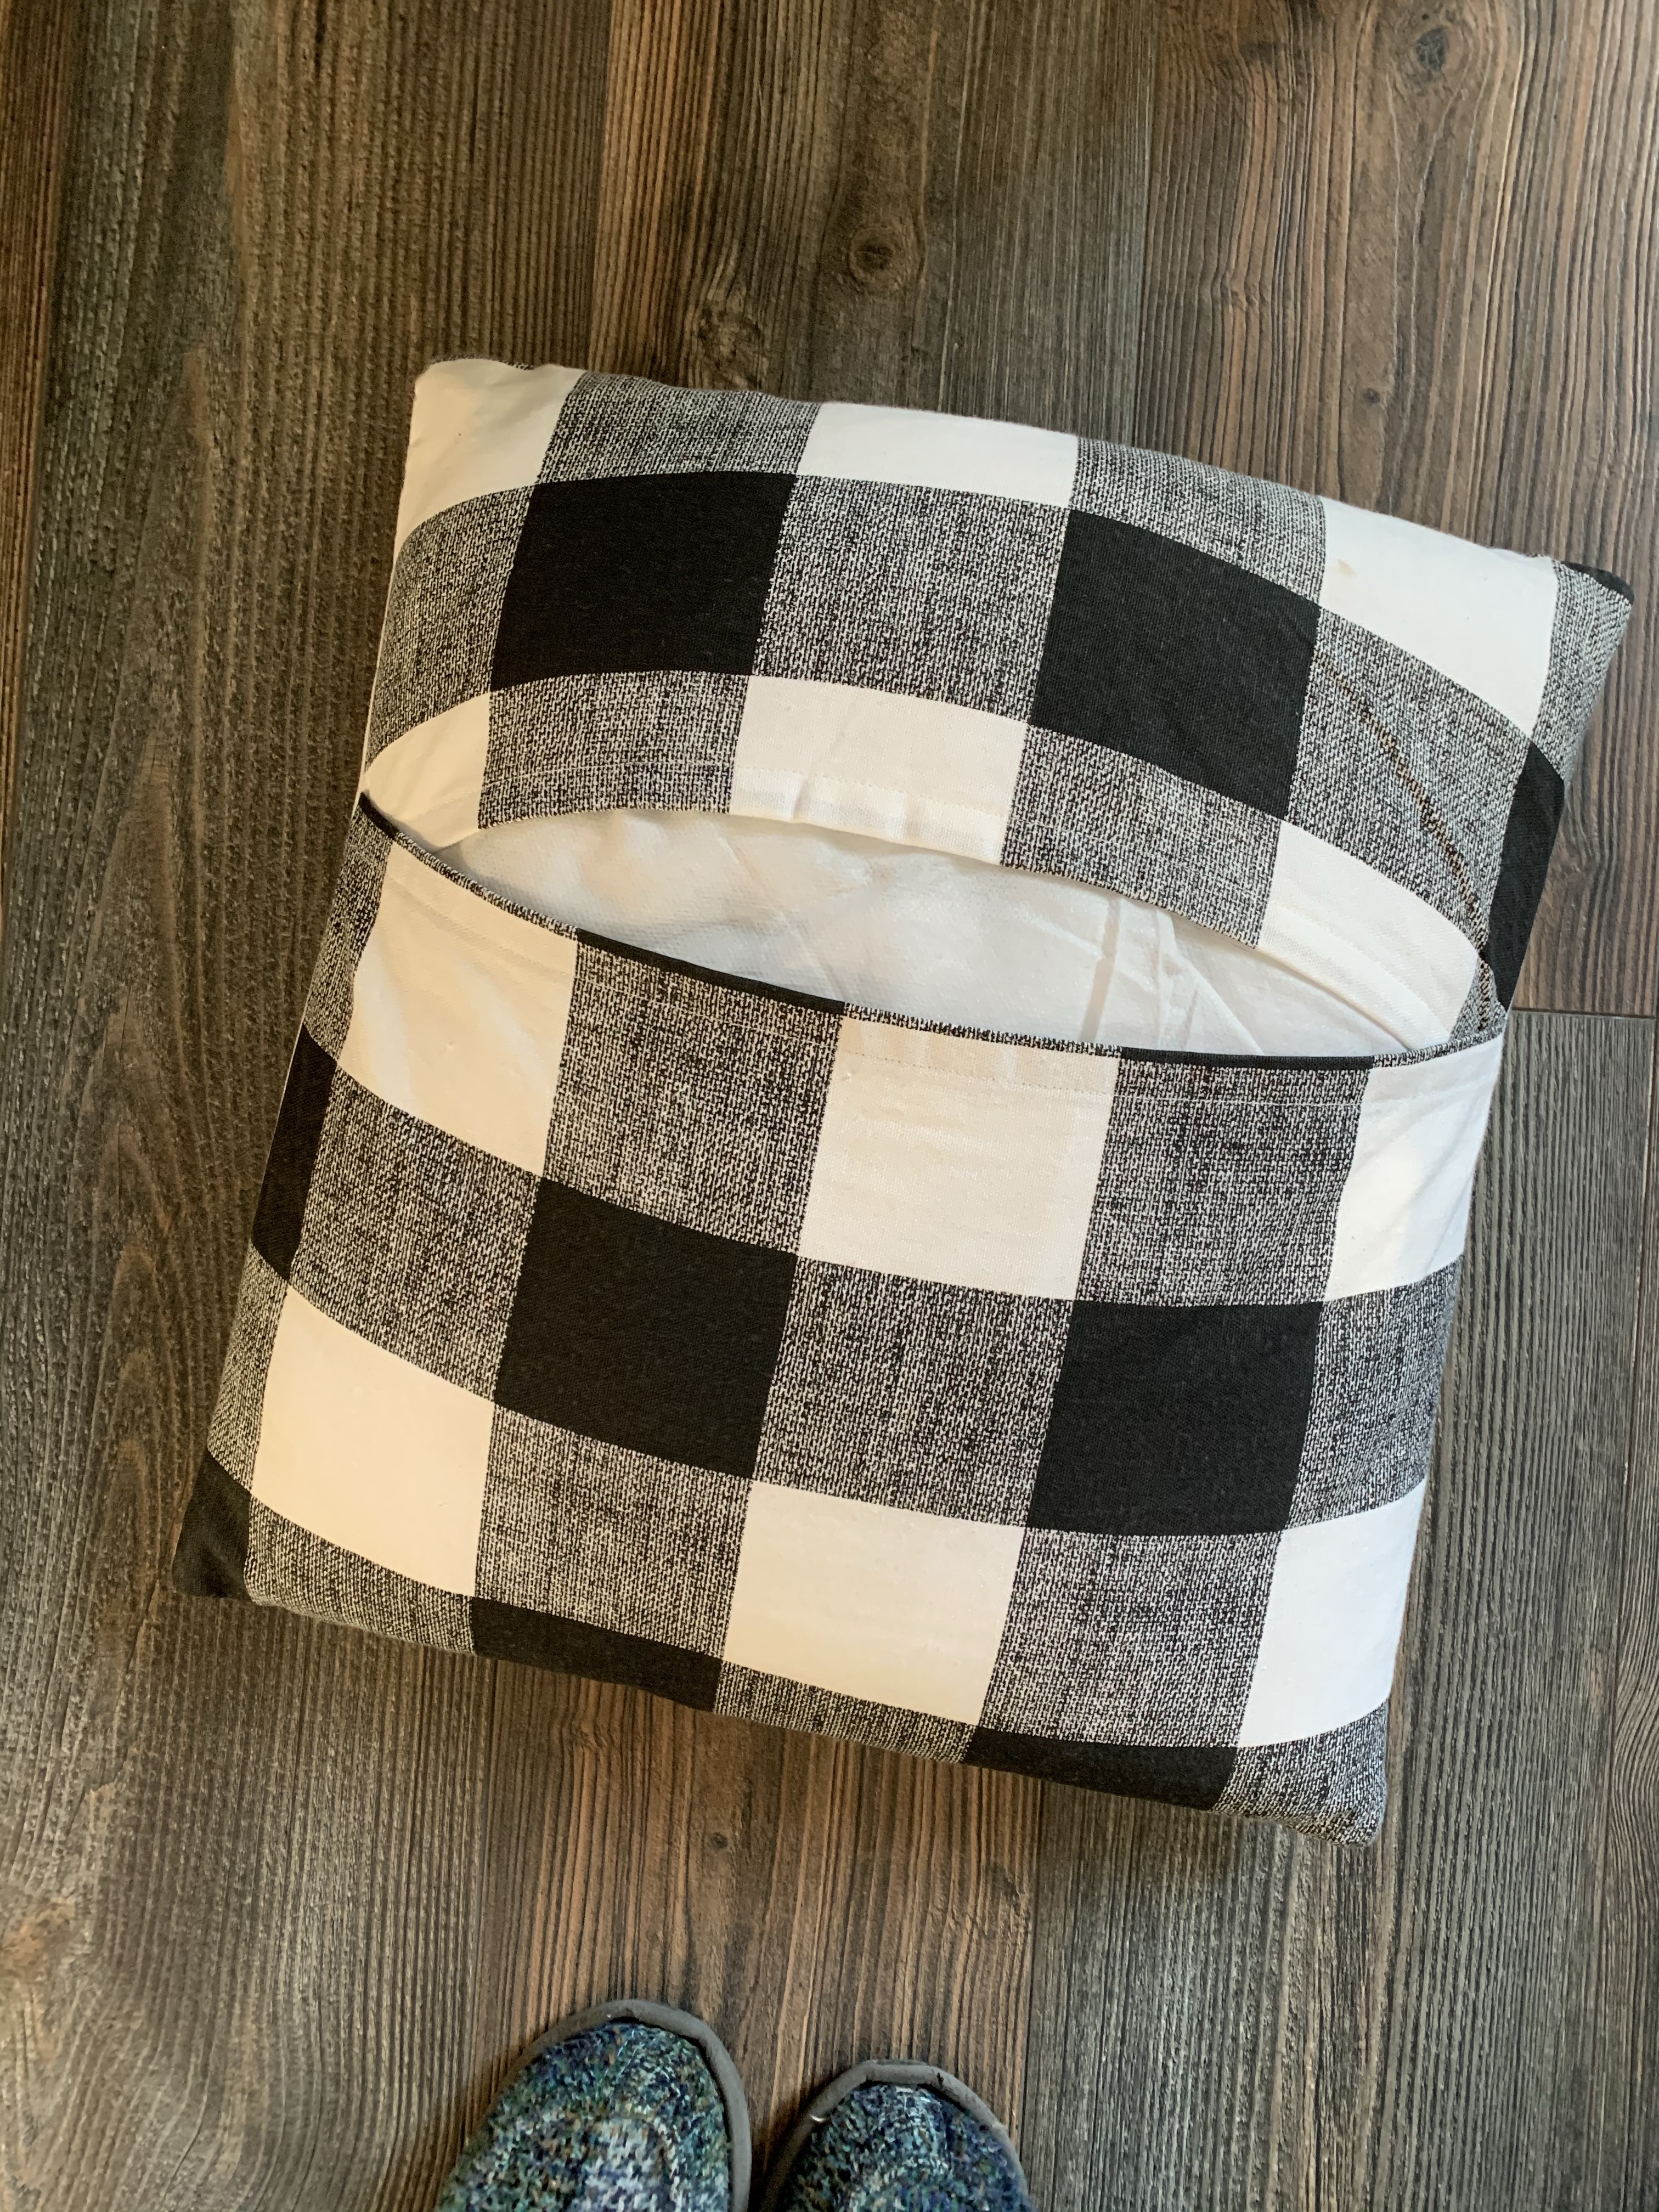
You may notice that zippers are absolutely my preferred way to finish pillow covers. And while an envelope back can be a lovely way to finish a pillow and sometimes even the best way, I often struggle with this issue:
So, today I am sharing a tutorial for how I add zippers to my pillow backs so you can “Zip It UP!”
This will work with any size pillow and here’s what you need:
- completed pillow front
- zipper – either longer than your pillow width or no more than 3-4 inches shorter
- fabric for backing, a bit taller and wider than your finished pillow size
- binding fabric (if desired)
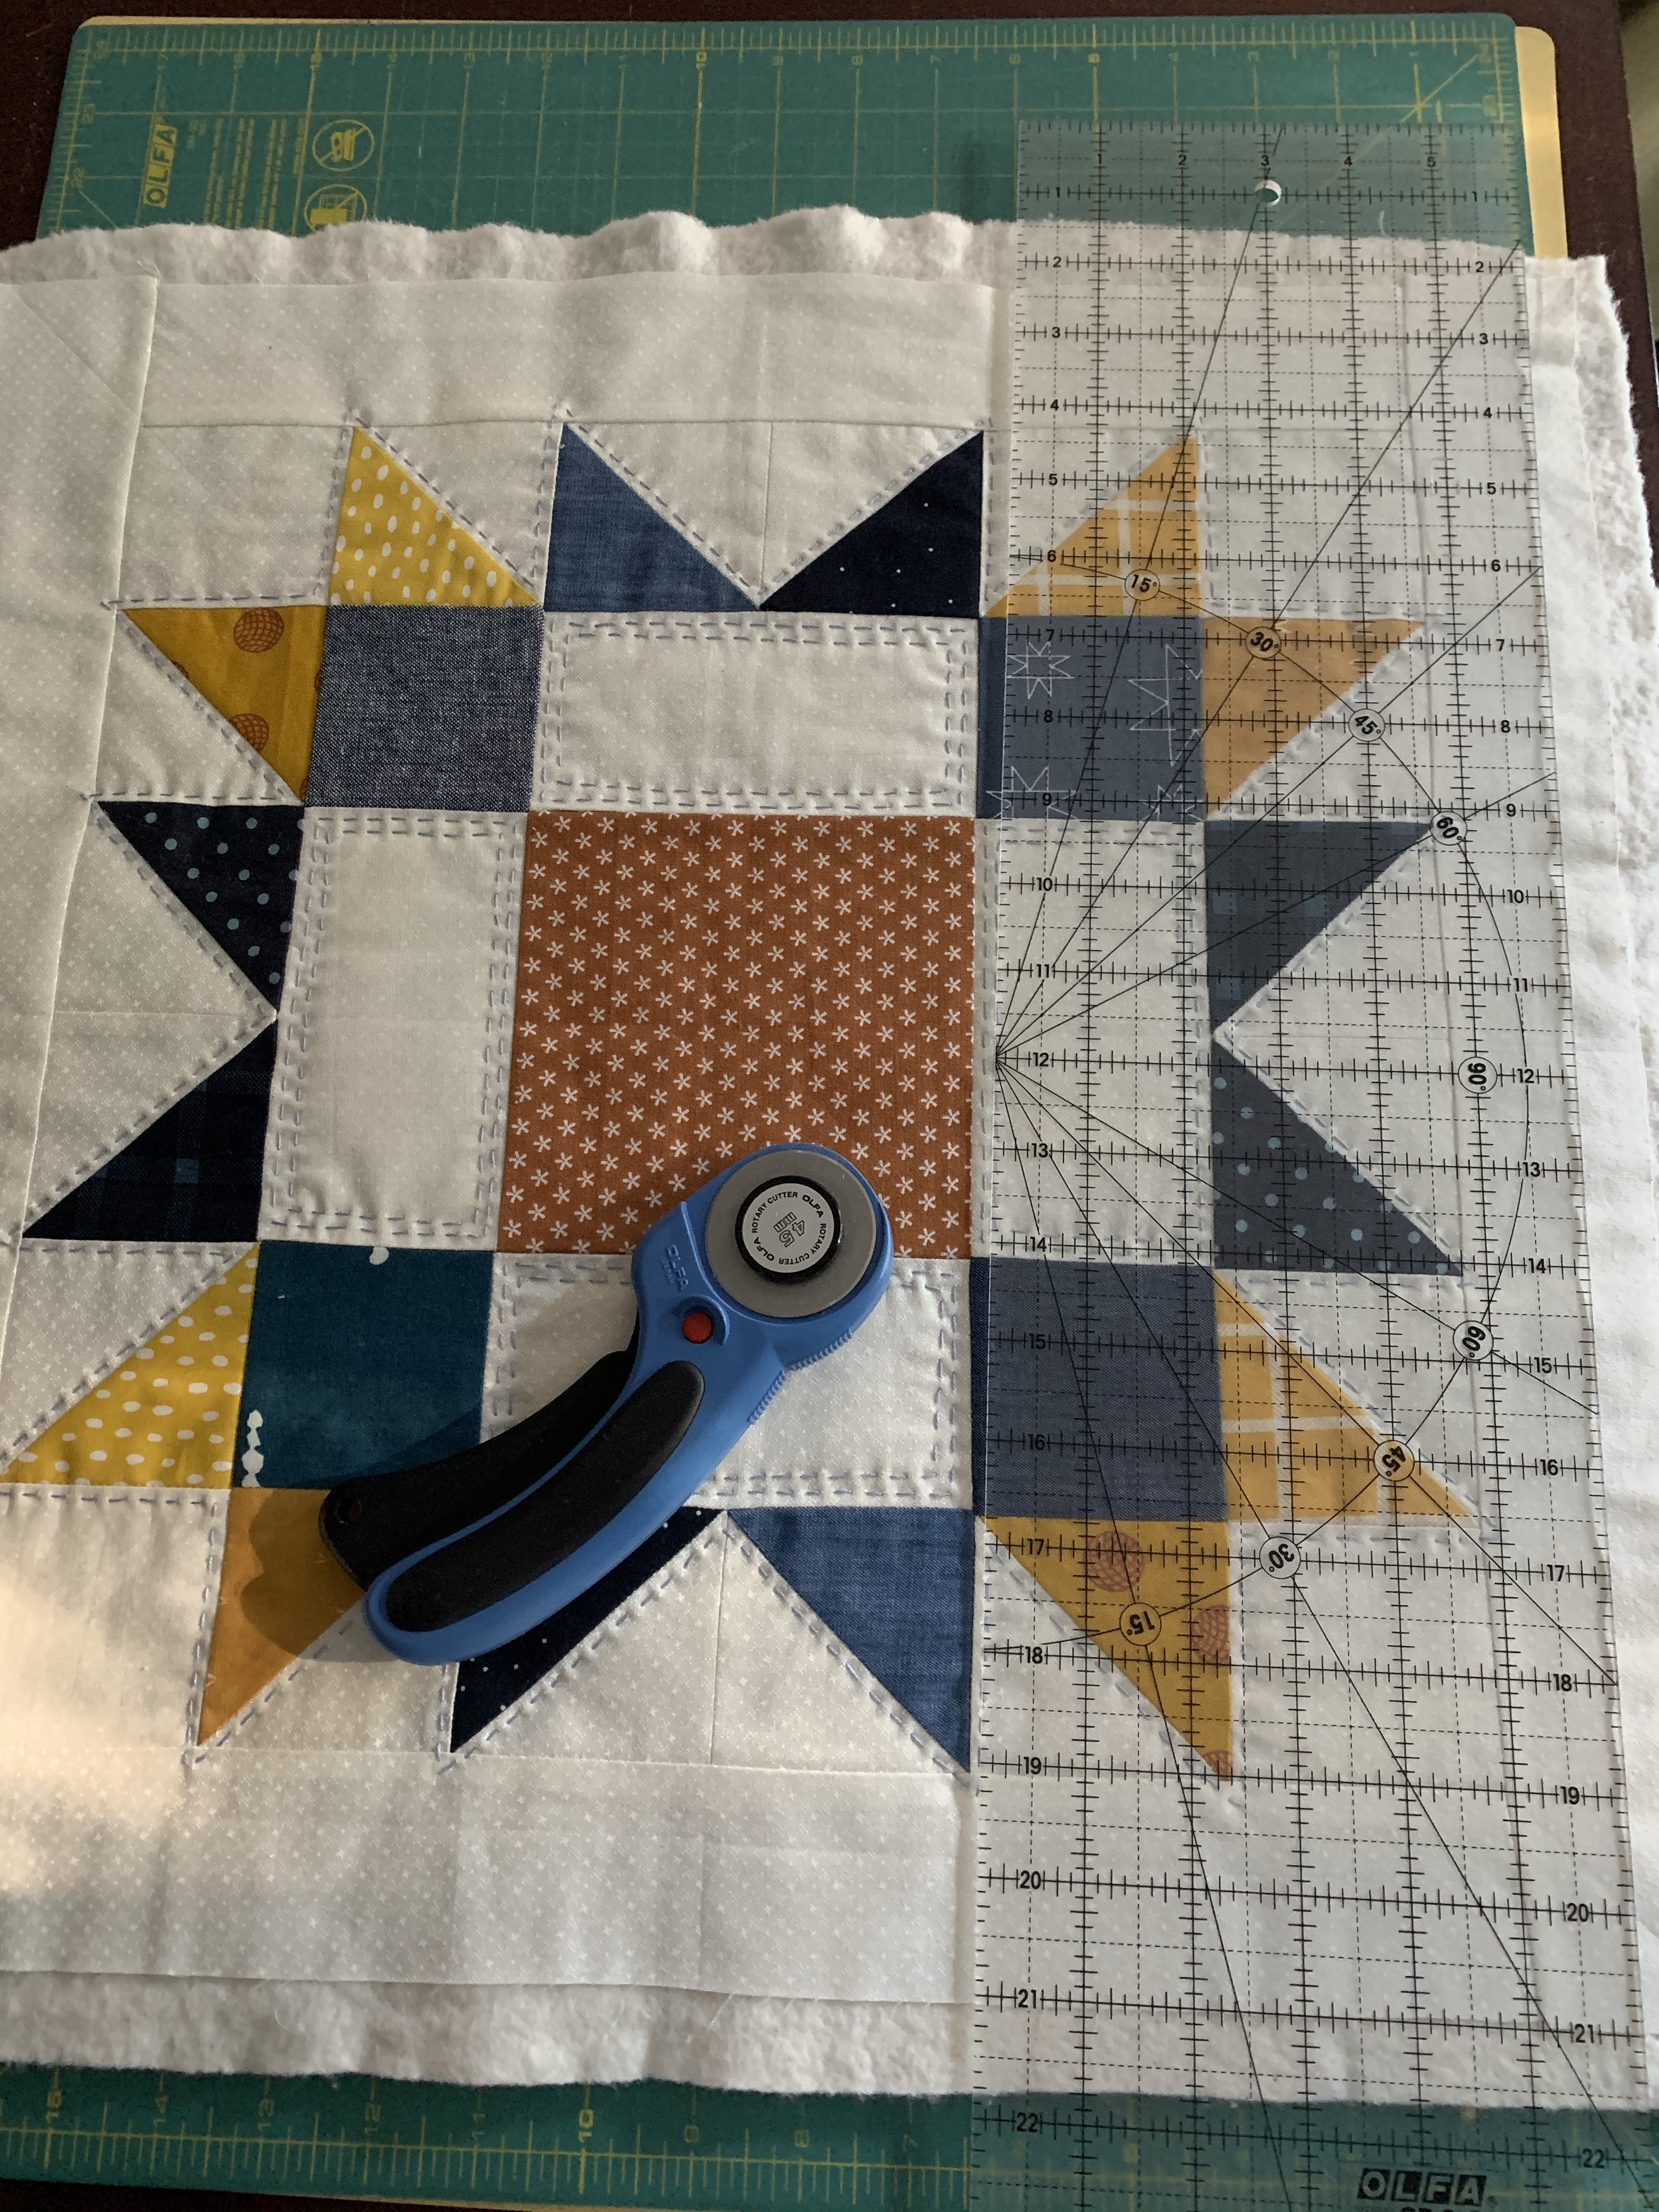
I’ll be finishing up this pretty fall inspired pillow cover I made using scraps and the Array Quilt pattern by Lou Orth Designs (affiliate link.)

First, decide on the size of your finished pillow cover and trim your block to size. I like my pillows to fit pretty firmly, so I typically only add 1/2 inch to my desired finished size – in this case 18×18 inches, so I trimmed my block to 18.5 inches square.
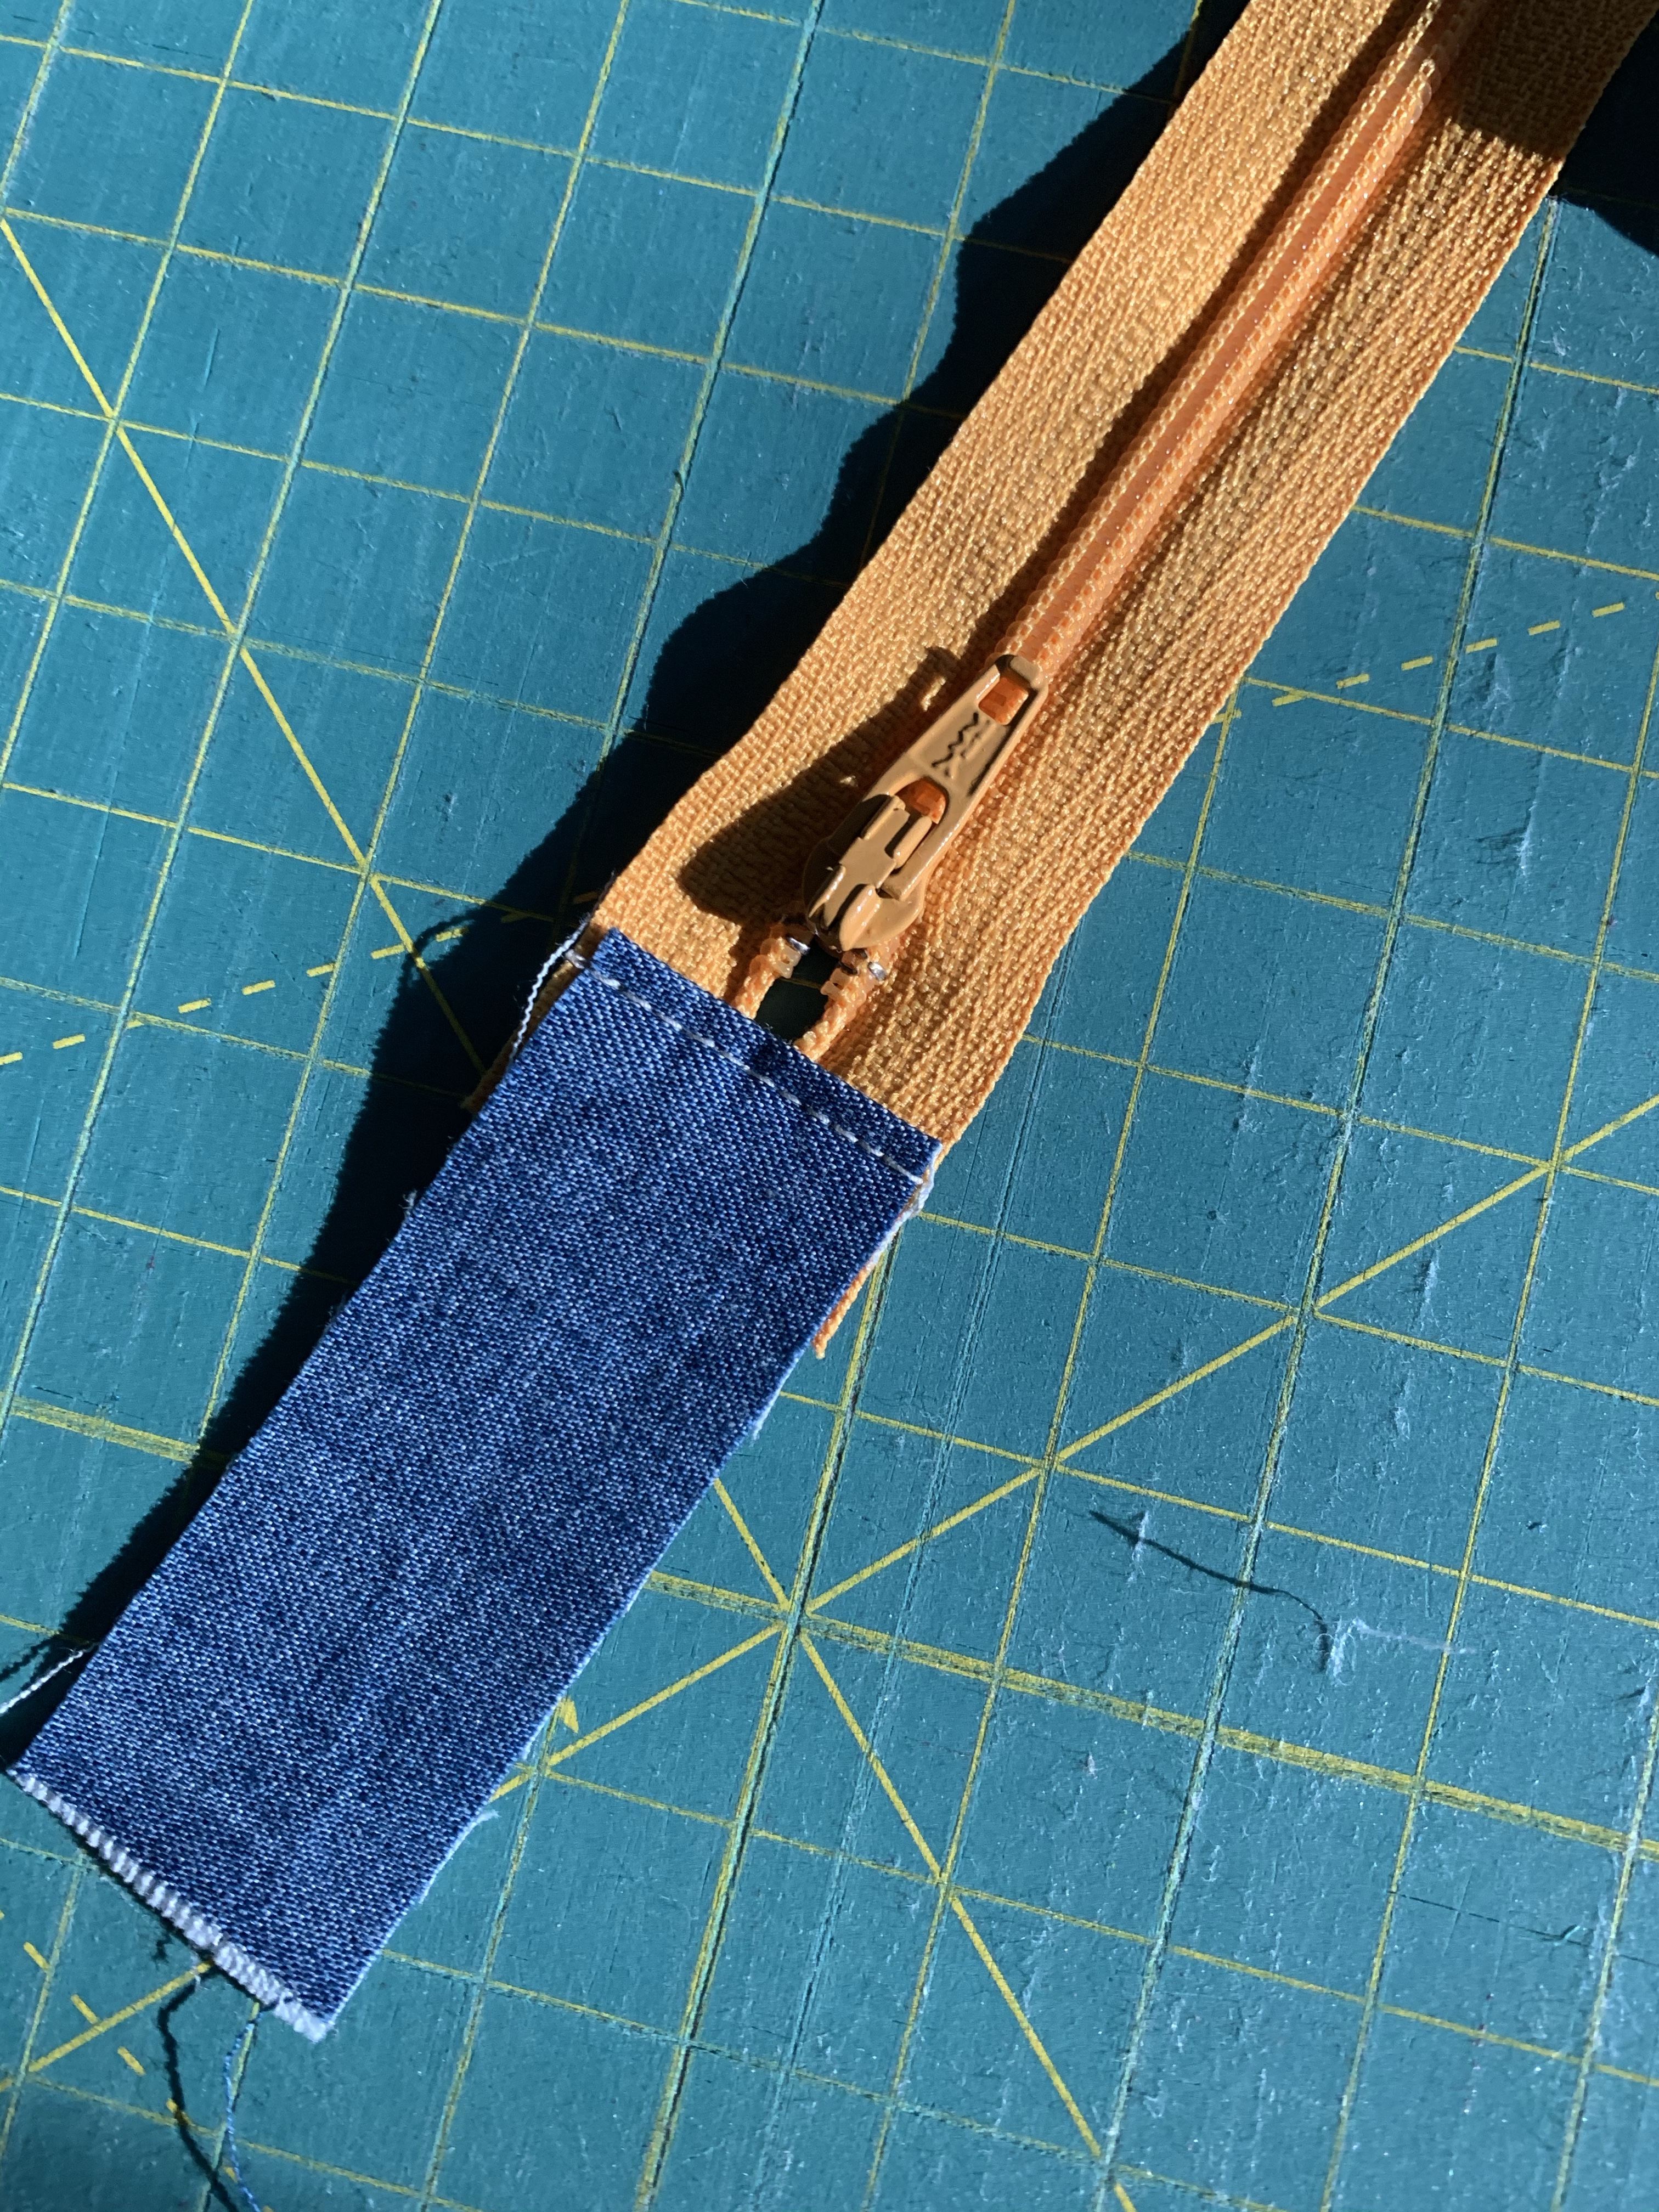
Next, add tabs to your zipper if it isn’t quite as wide as your finished pillow cover. Cut two small coordinating scraps of fabric that are 1×6 inches and fold them in half and iron.
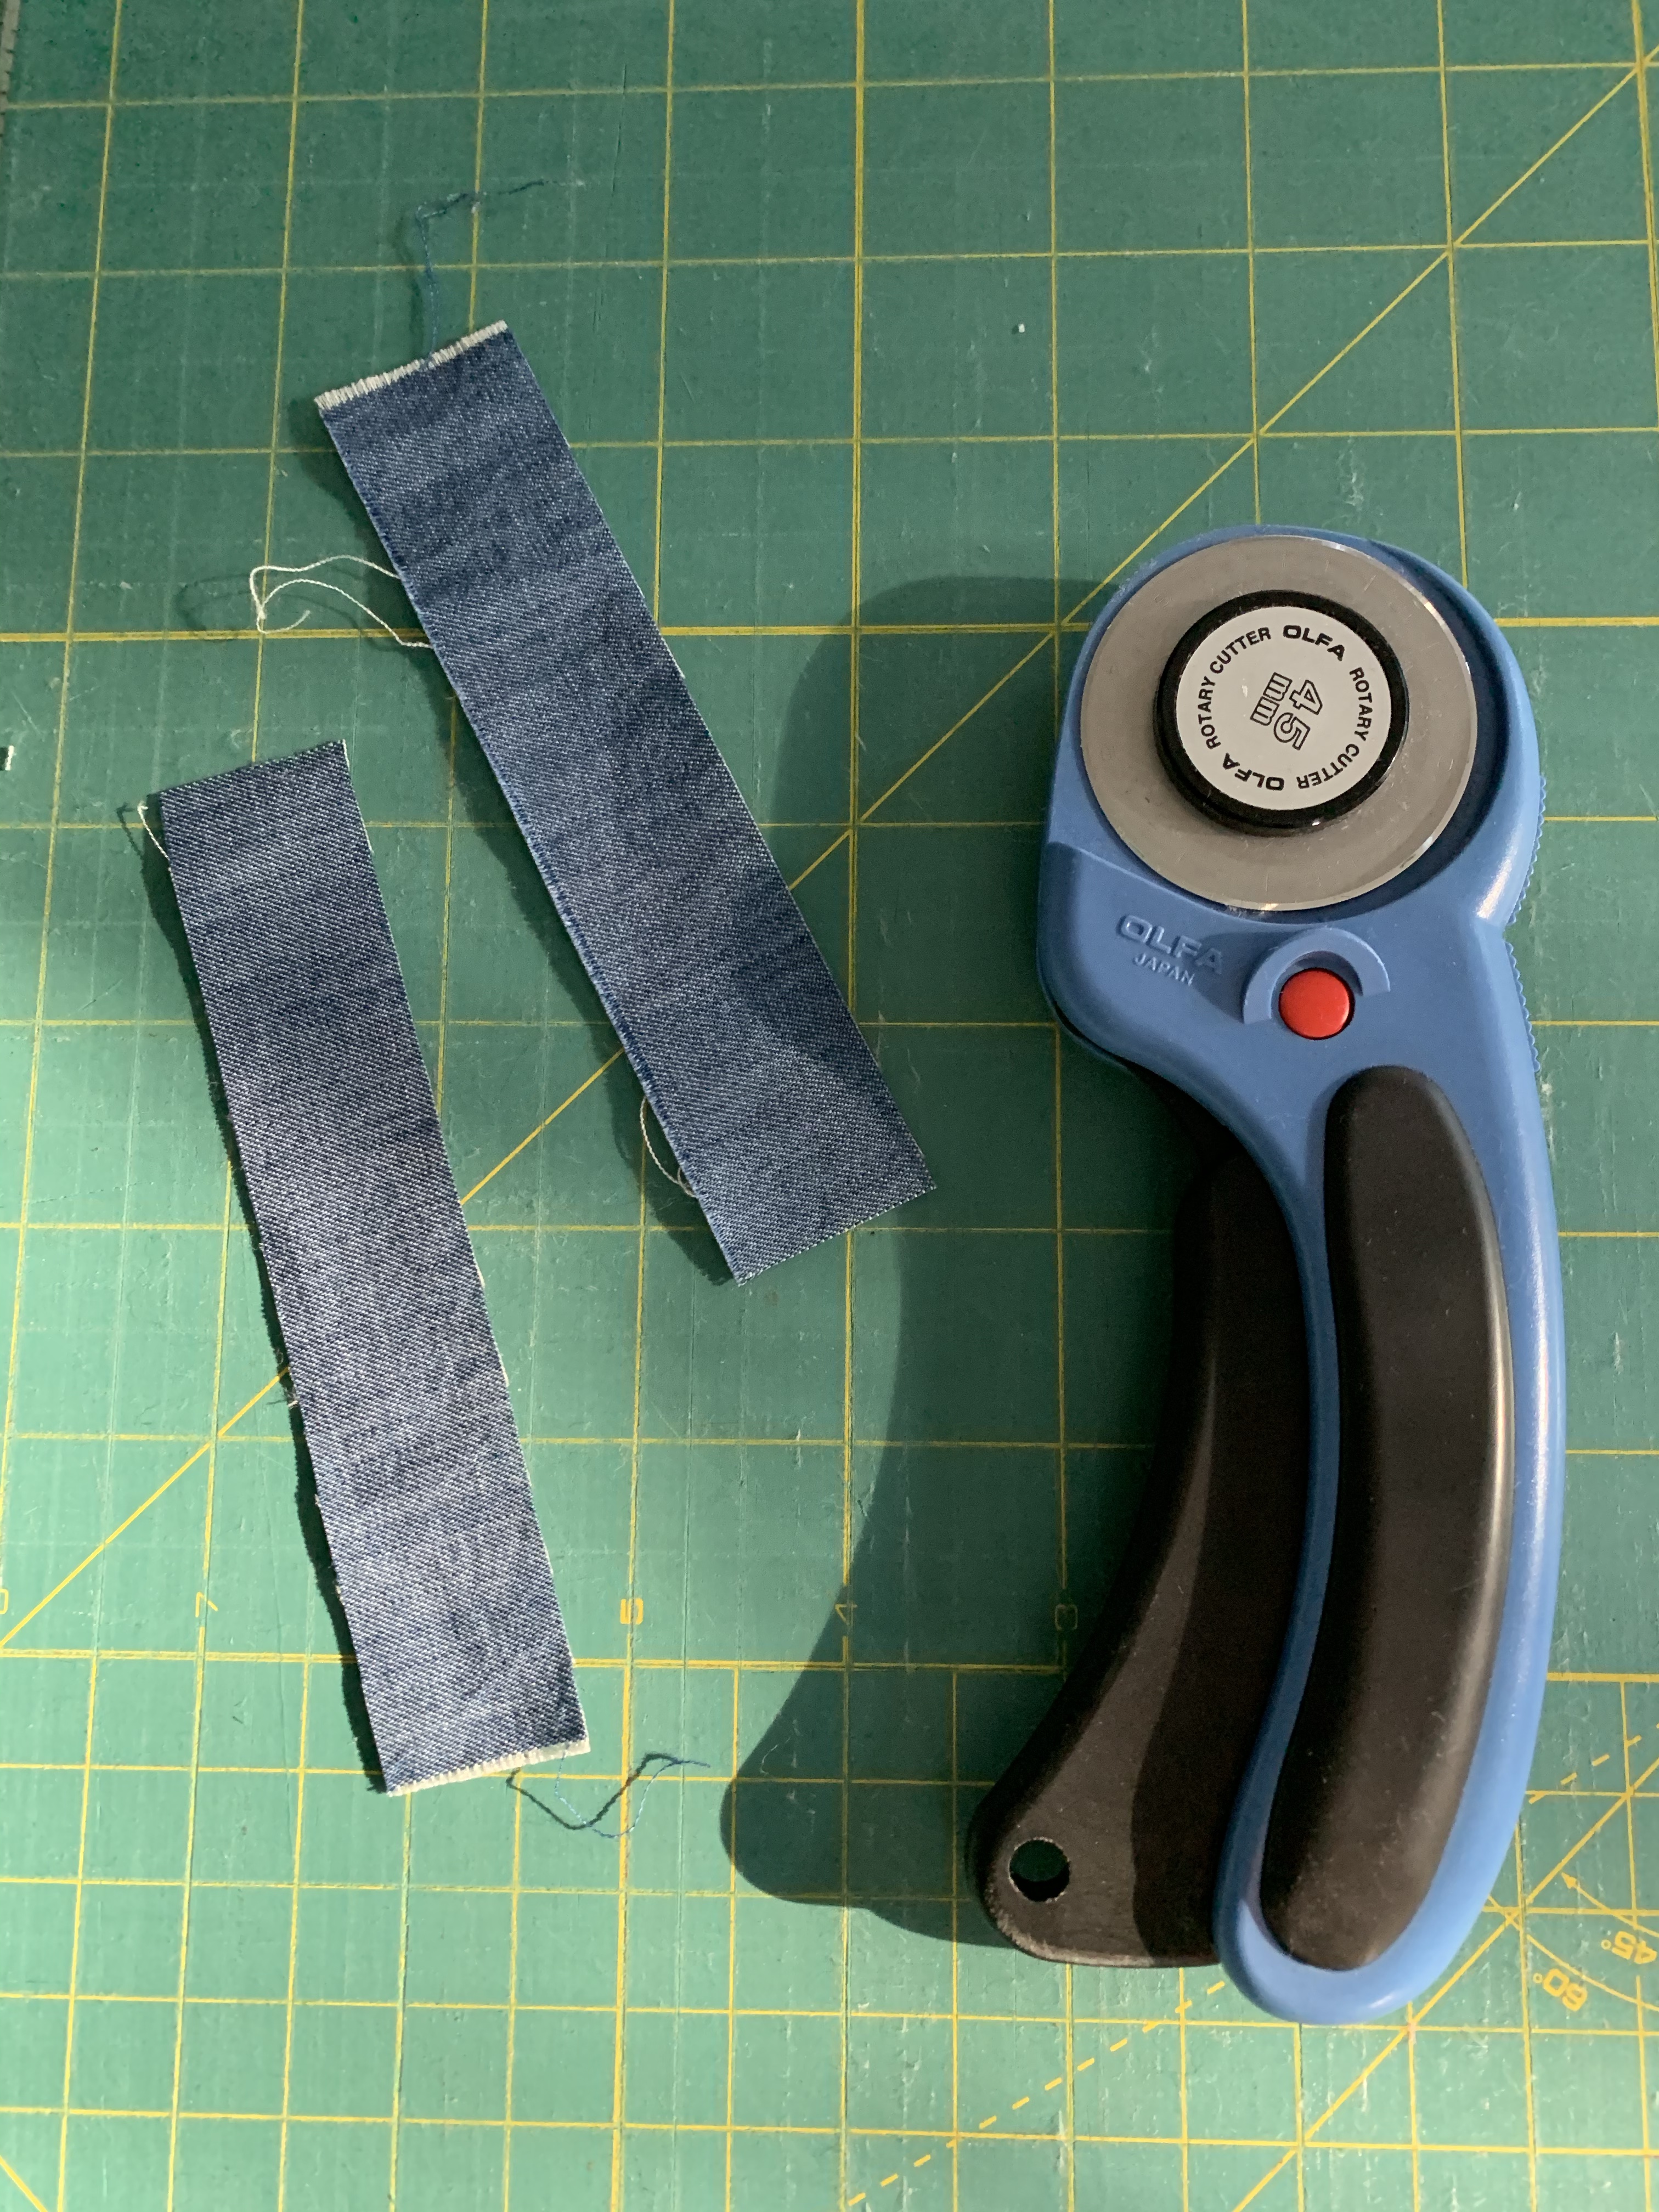
Next, take those tabs and sew them onto each end of your zipper, giving yourself enough room around the zipper pull and metal tab. You can trim away excess zipper tape behind your tab if you’d like, but I usually forget that step.
Now, your zipper should be longer than the width of your pillow top. We’ll trim away the extra length in a few minutes – leave it long for now.
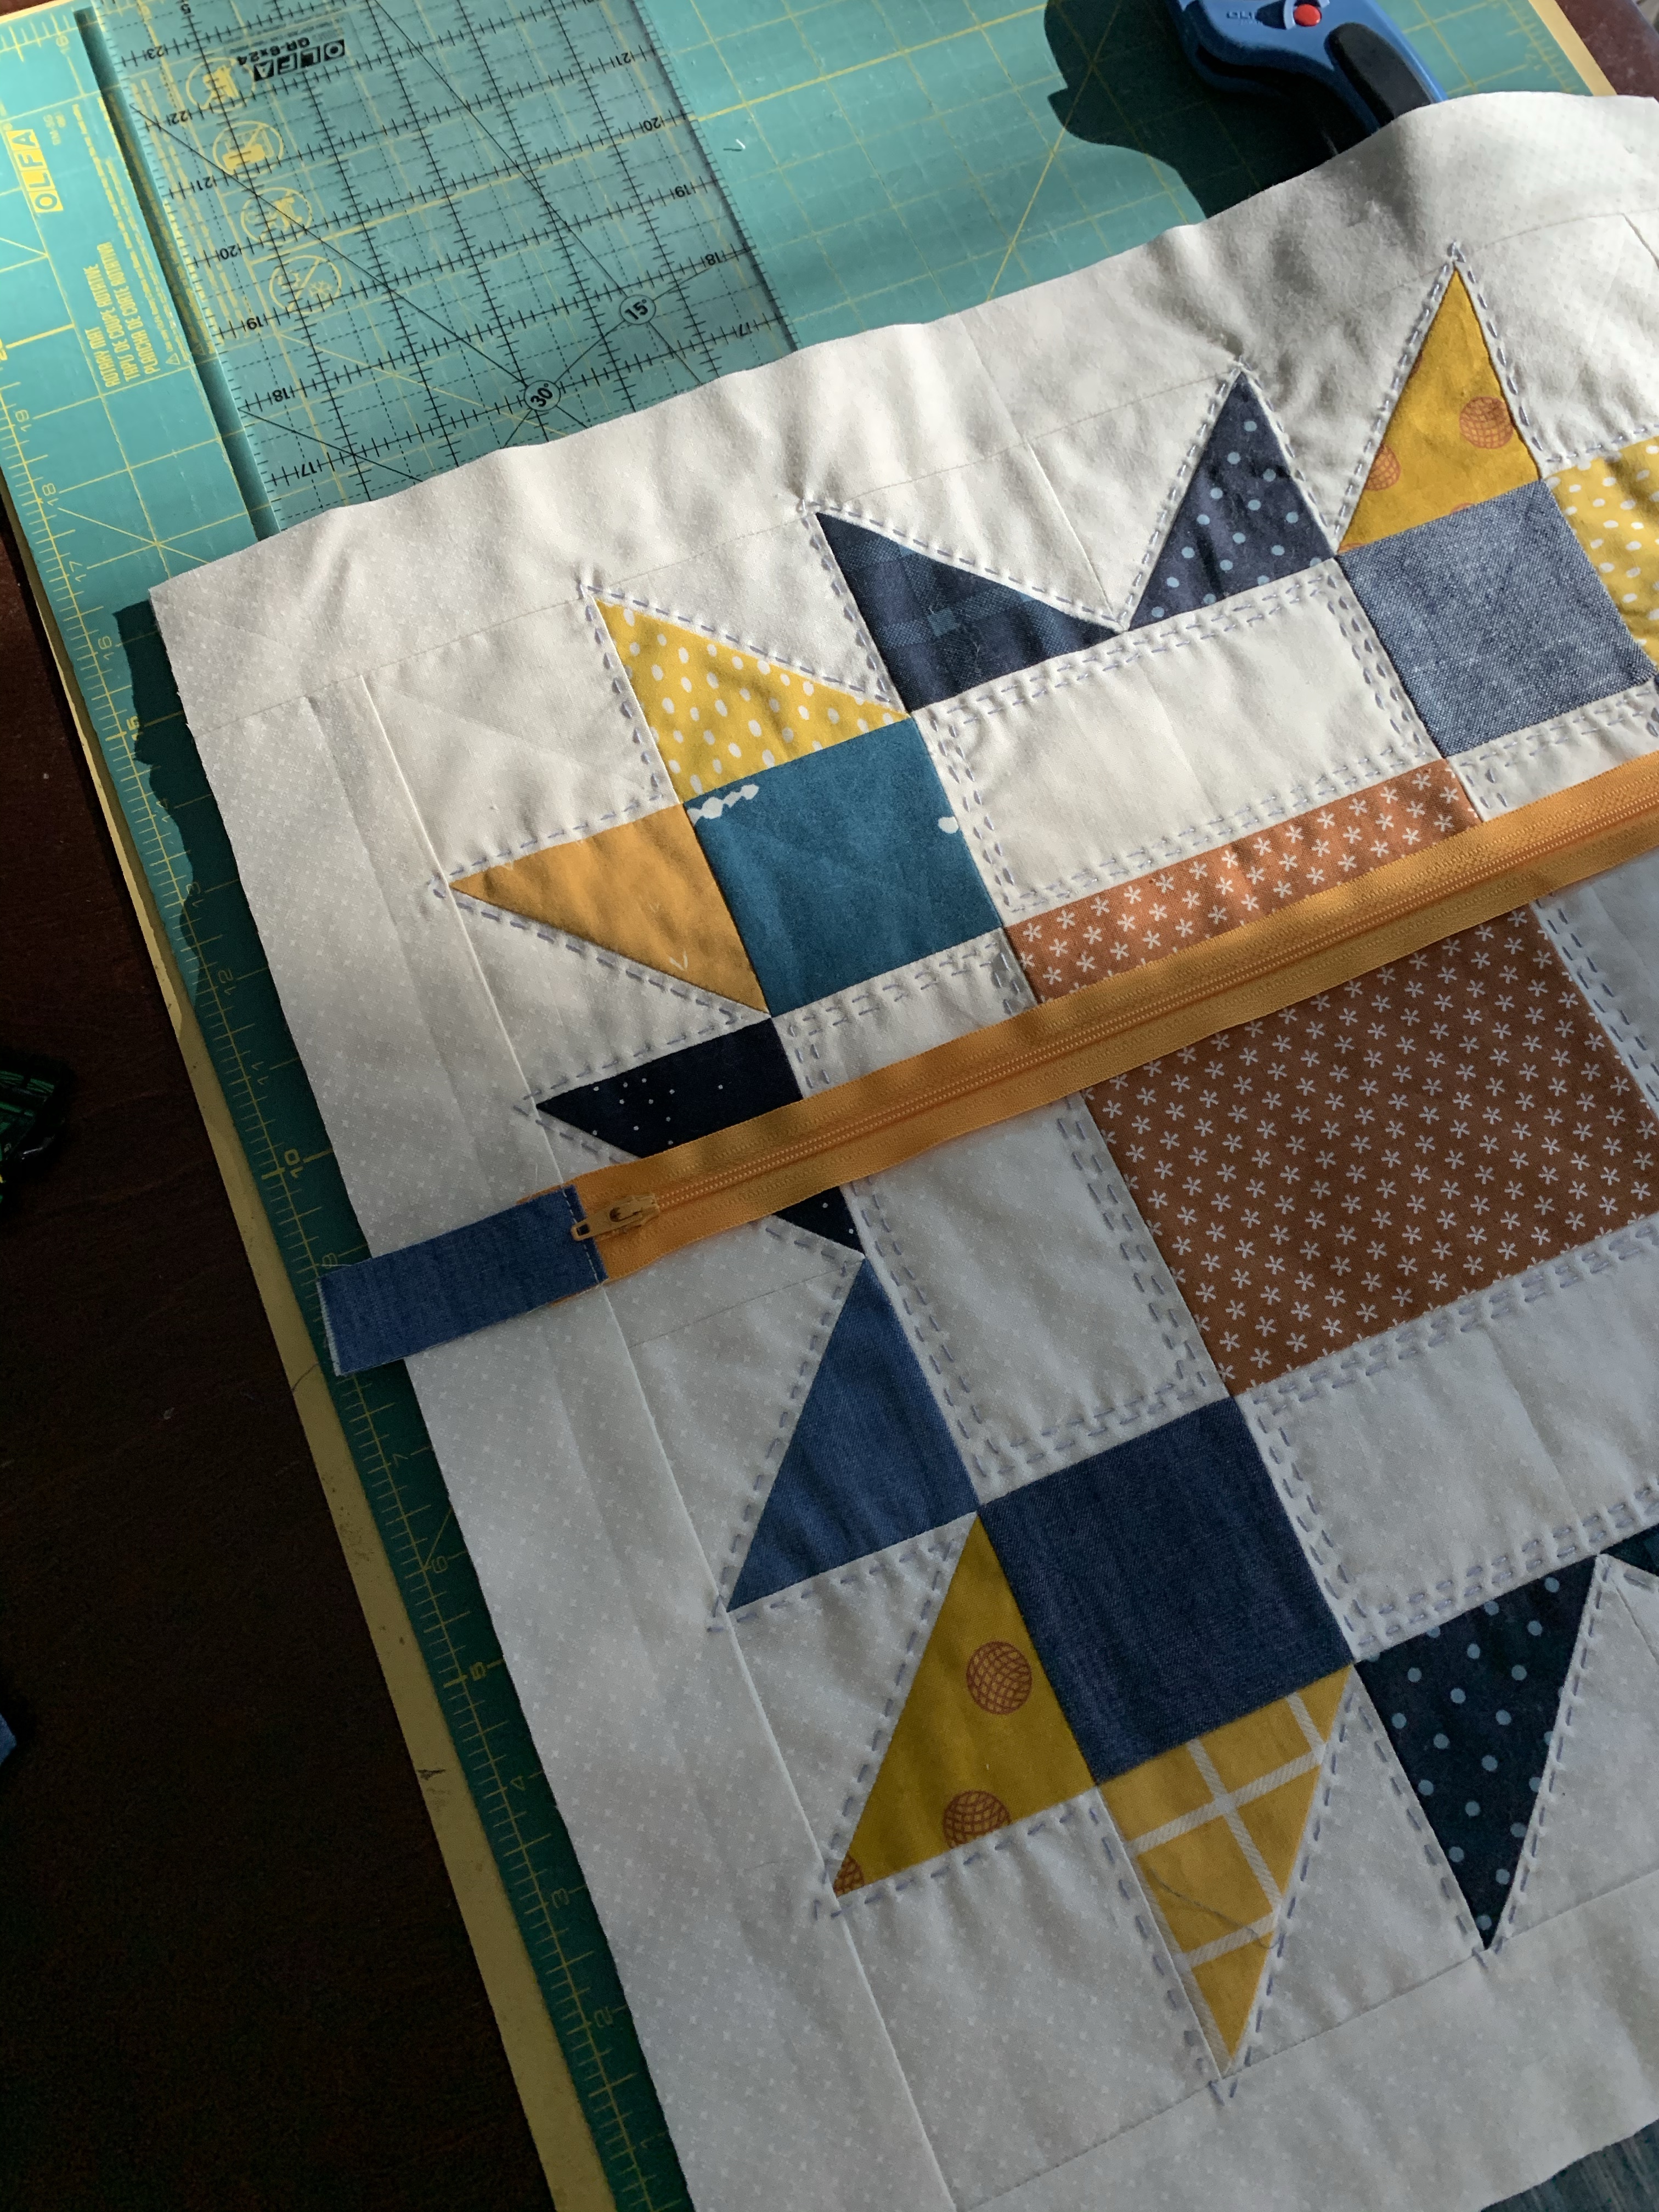
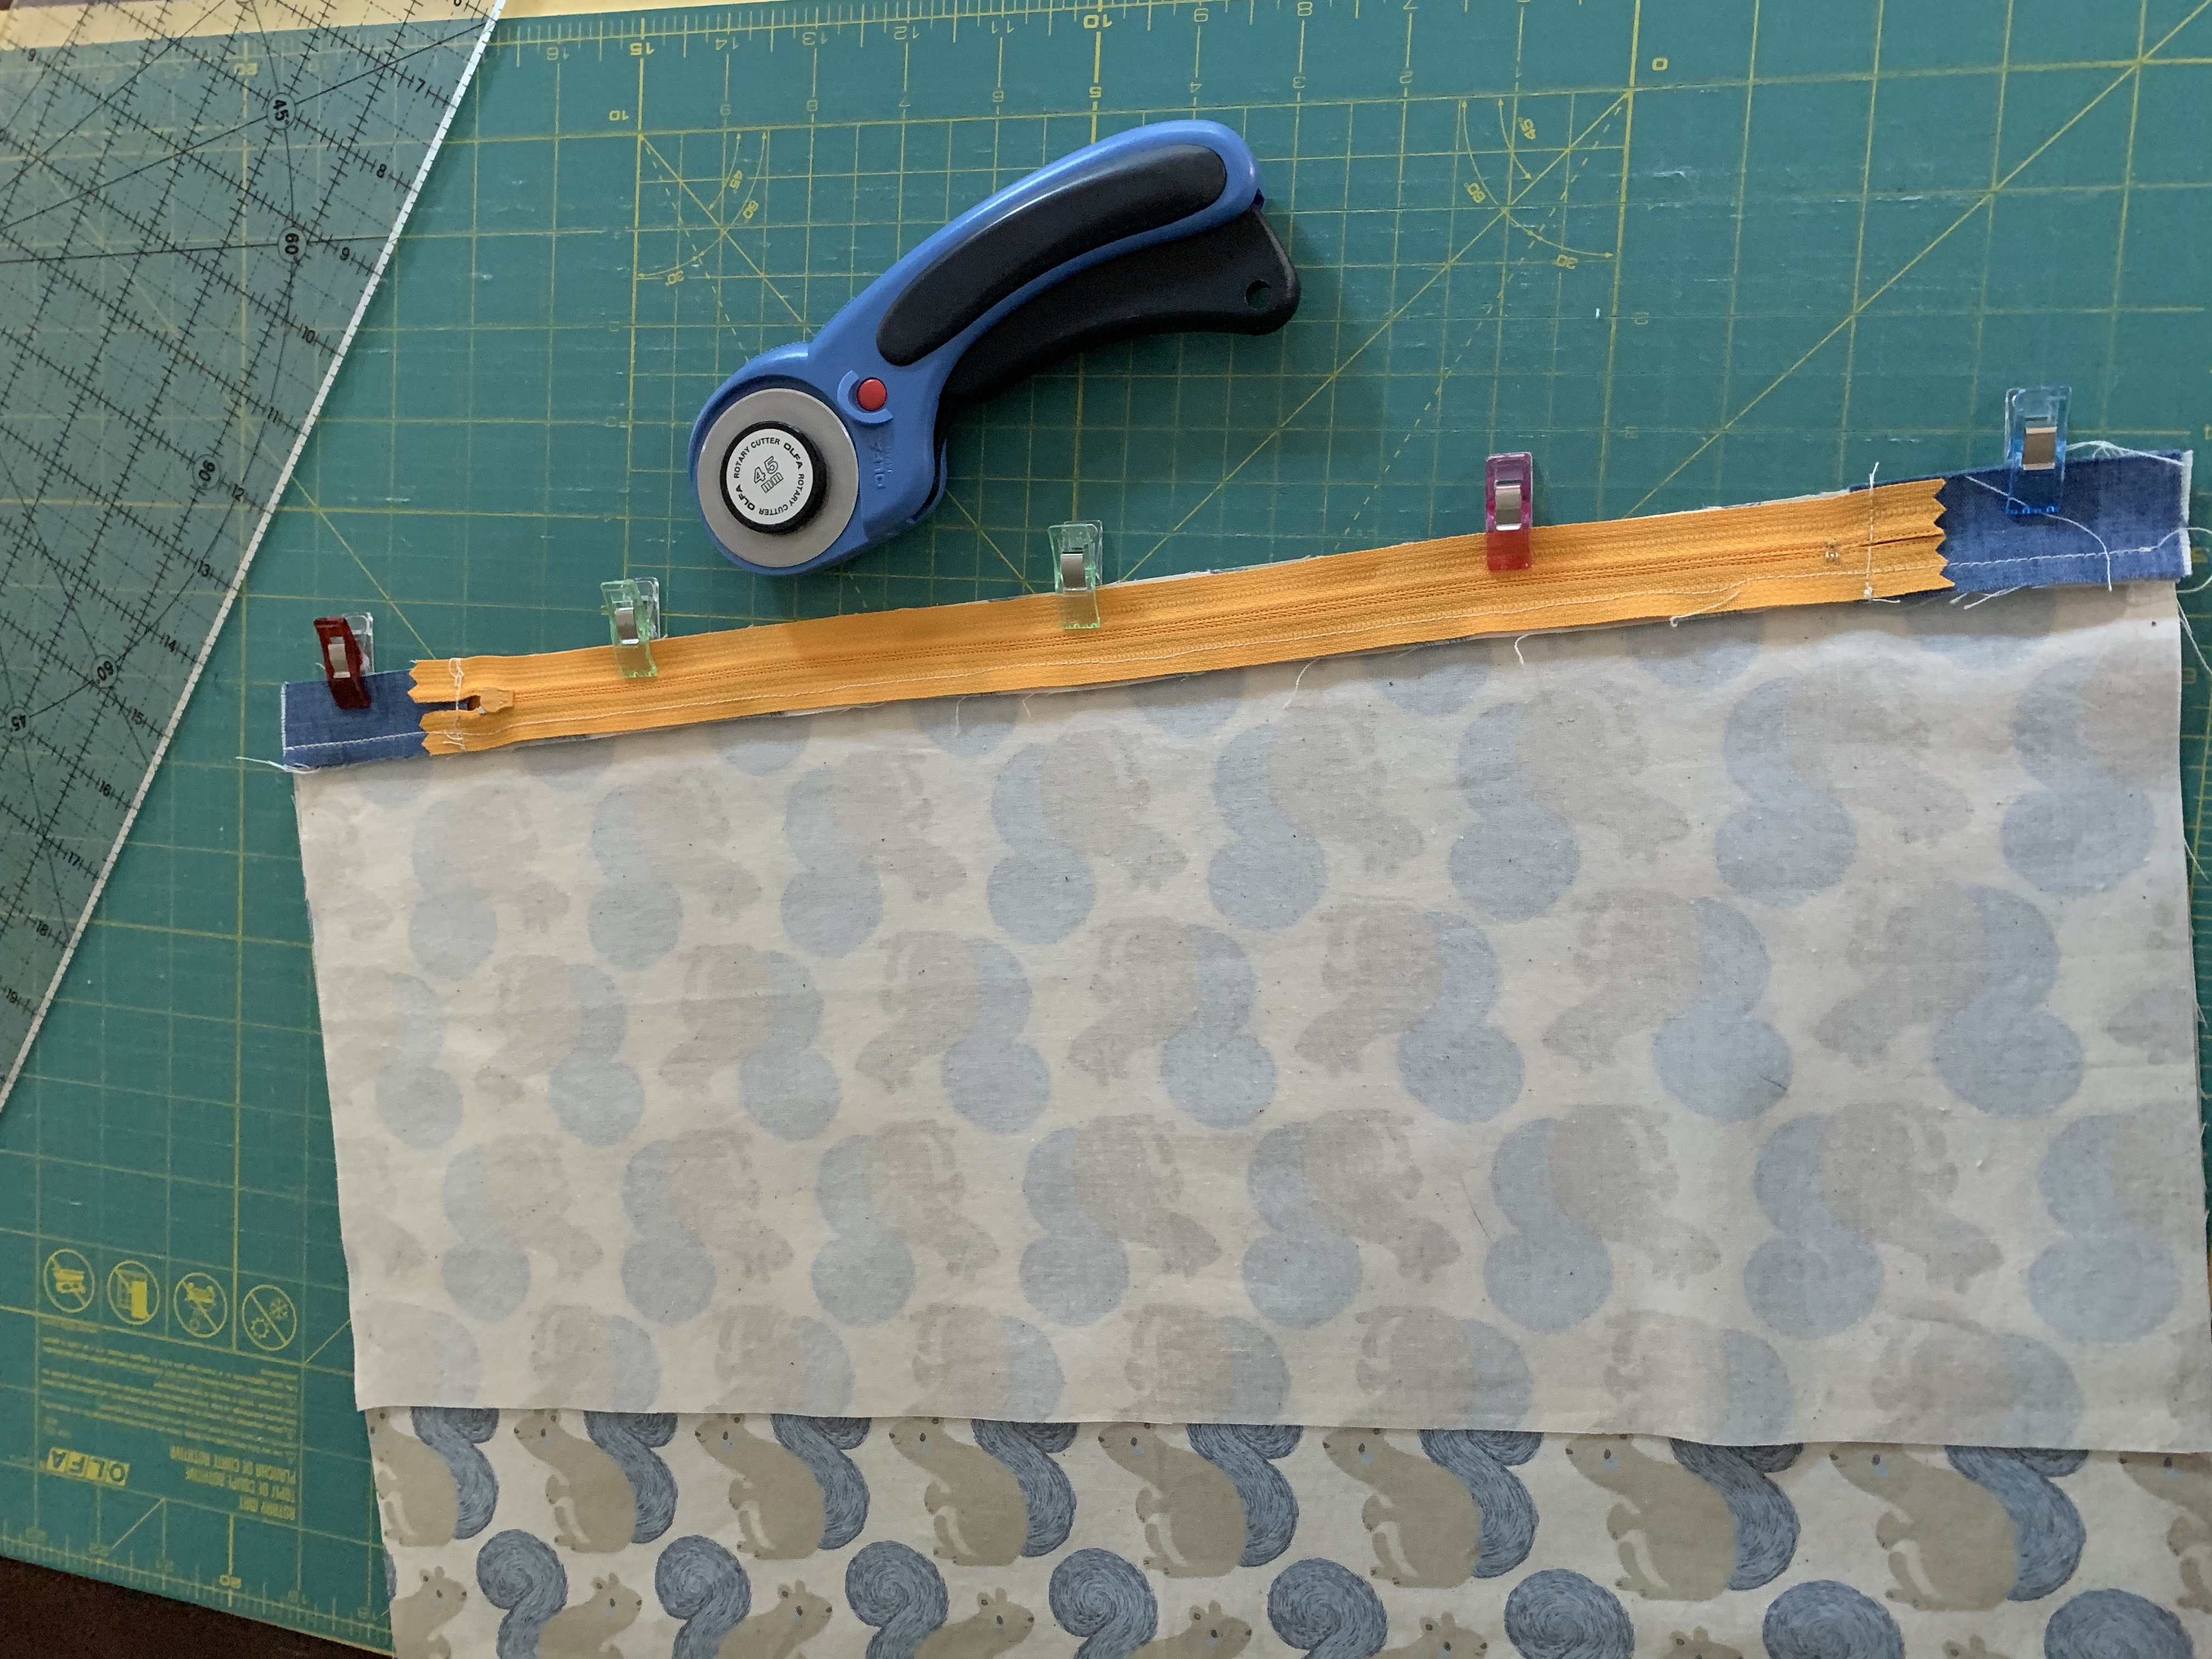
Next, lay your zipper across the pillow top about where you want it to be on the back. Grab your chosen backing fabric and cut one piece of backing fabric that is slightly larger than your pillow back. I usually leave at least 1/2 inch wiggle room on the sides and 2 inches on the length. I chose a directional fabric for my backing, so I had to pay attention to which side I attached to the zipper first. Note: If you don’t have one piece of fabric that big, you can always use smaller pieces or even two contrasting pieces for the backing, too.
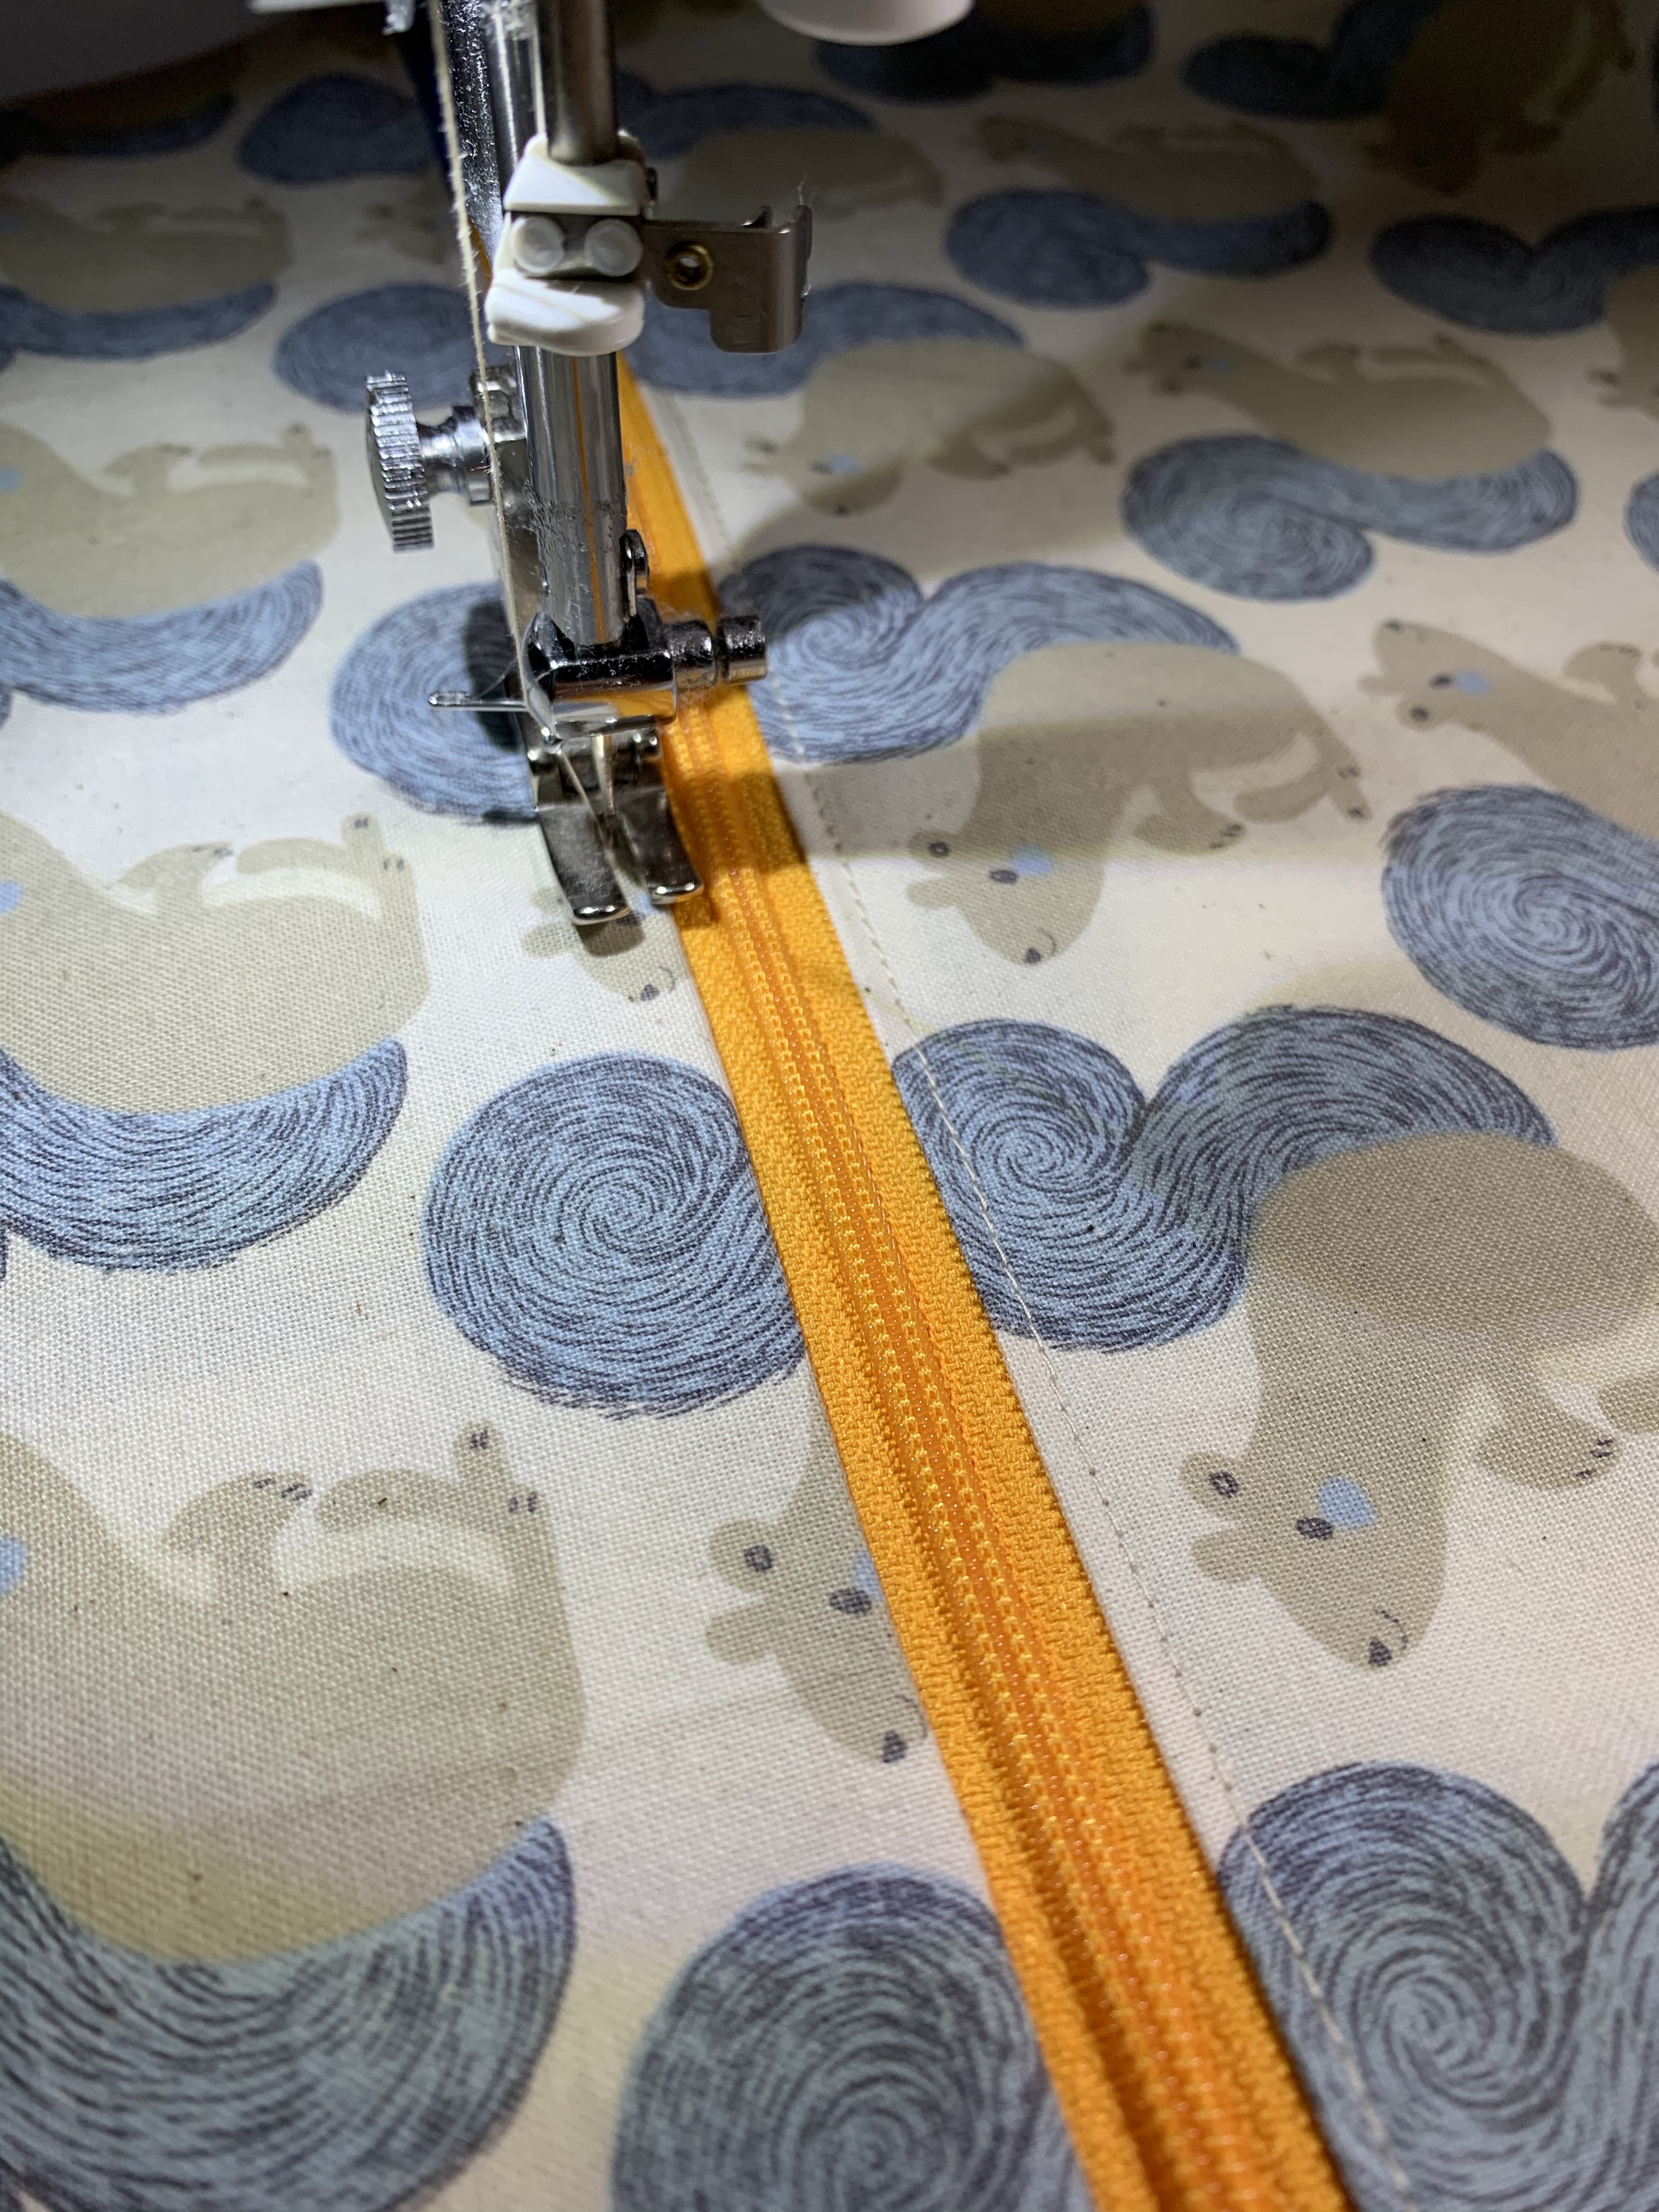
Using craft clips lay your zipper pull side down, with backing right side up. Keep the zipper pull on the left side of the backing and center the entire length on the backing fabric – your zipper tabs should extend past both sides. If your zipper is longer than the back of your pillow, match up the tab end, leaving the side with the zipper pull extending past the edge. Going slowly to be sure the zipper stays lined up with the edge of the fabric, attach the first side of the zipper tape to the backing. Stop and lift the needle if needed to slide your zipper tab out of the way when you reach it. Flip the zipper over and press so it lays flat.

Next, lay this on the front of your pillow and eyeballing where you want the zipper to be (I usually aim for 1/3 way down the back) trim the excess fabric away from the top. This trimmed piece is now what you’ll use to attach to the other side of your zipper to finish your backing piece. You can also trim your excess zipper tabs now. If you are trimming away excess zipper, be sure to pull your tab to the middle before trimming. I won’t admit how many times I have trimmed the zipper pull itself off.
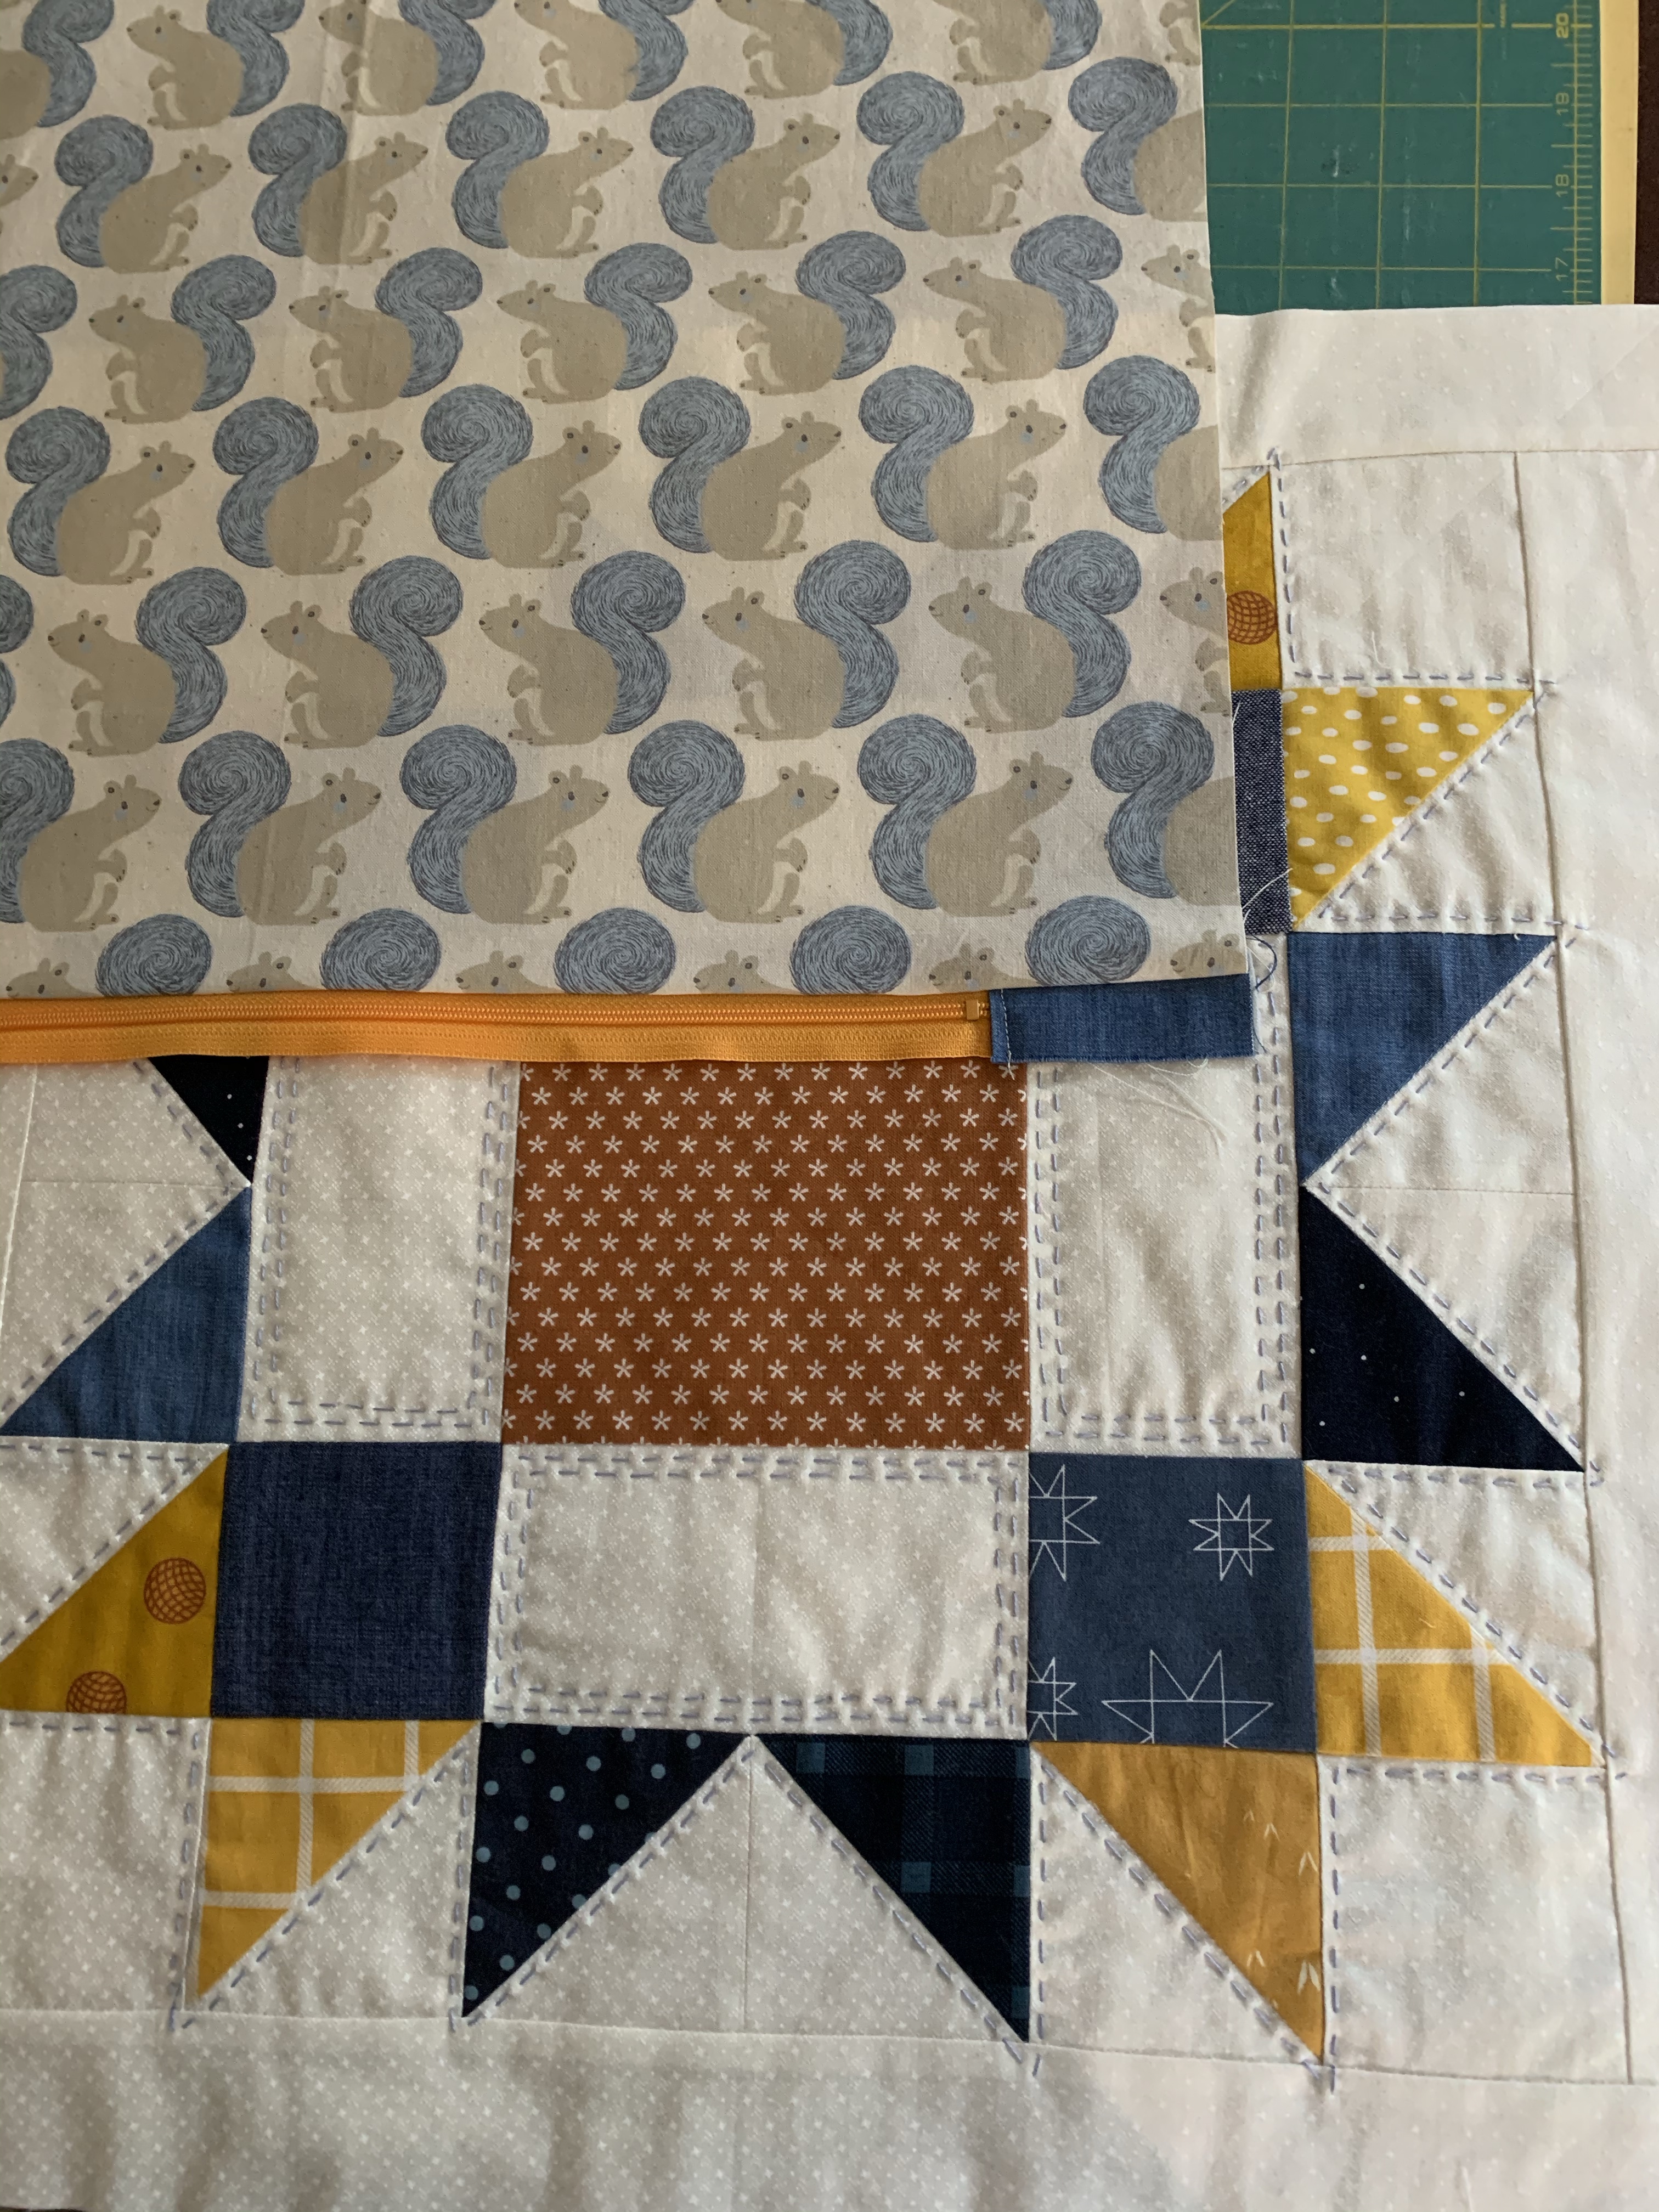
Lay your second backing piece right side up, then lay the zipper on top paying attention to direction of fabric if needed and again, using craft clips, attach the two pieces together. Go back to your machine and sew together slowly, lifting the needle to maneuver around the zipper pull.
Iron again well so that the zipper lays nice and flat. Topstitch down both sides of the zipper about 1/8 inch away from the seam.
Your pillow back is ready and should still be slightly larger than your pillow front. I like to leave mine like this to sew it together, because inevitably if I trim the back down to size, when I sew the two pieces together one of them shifts slightly and the corners don’t line up.
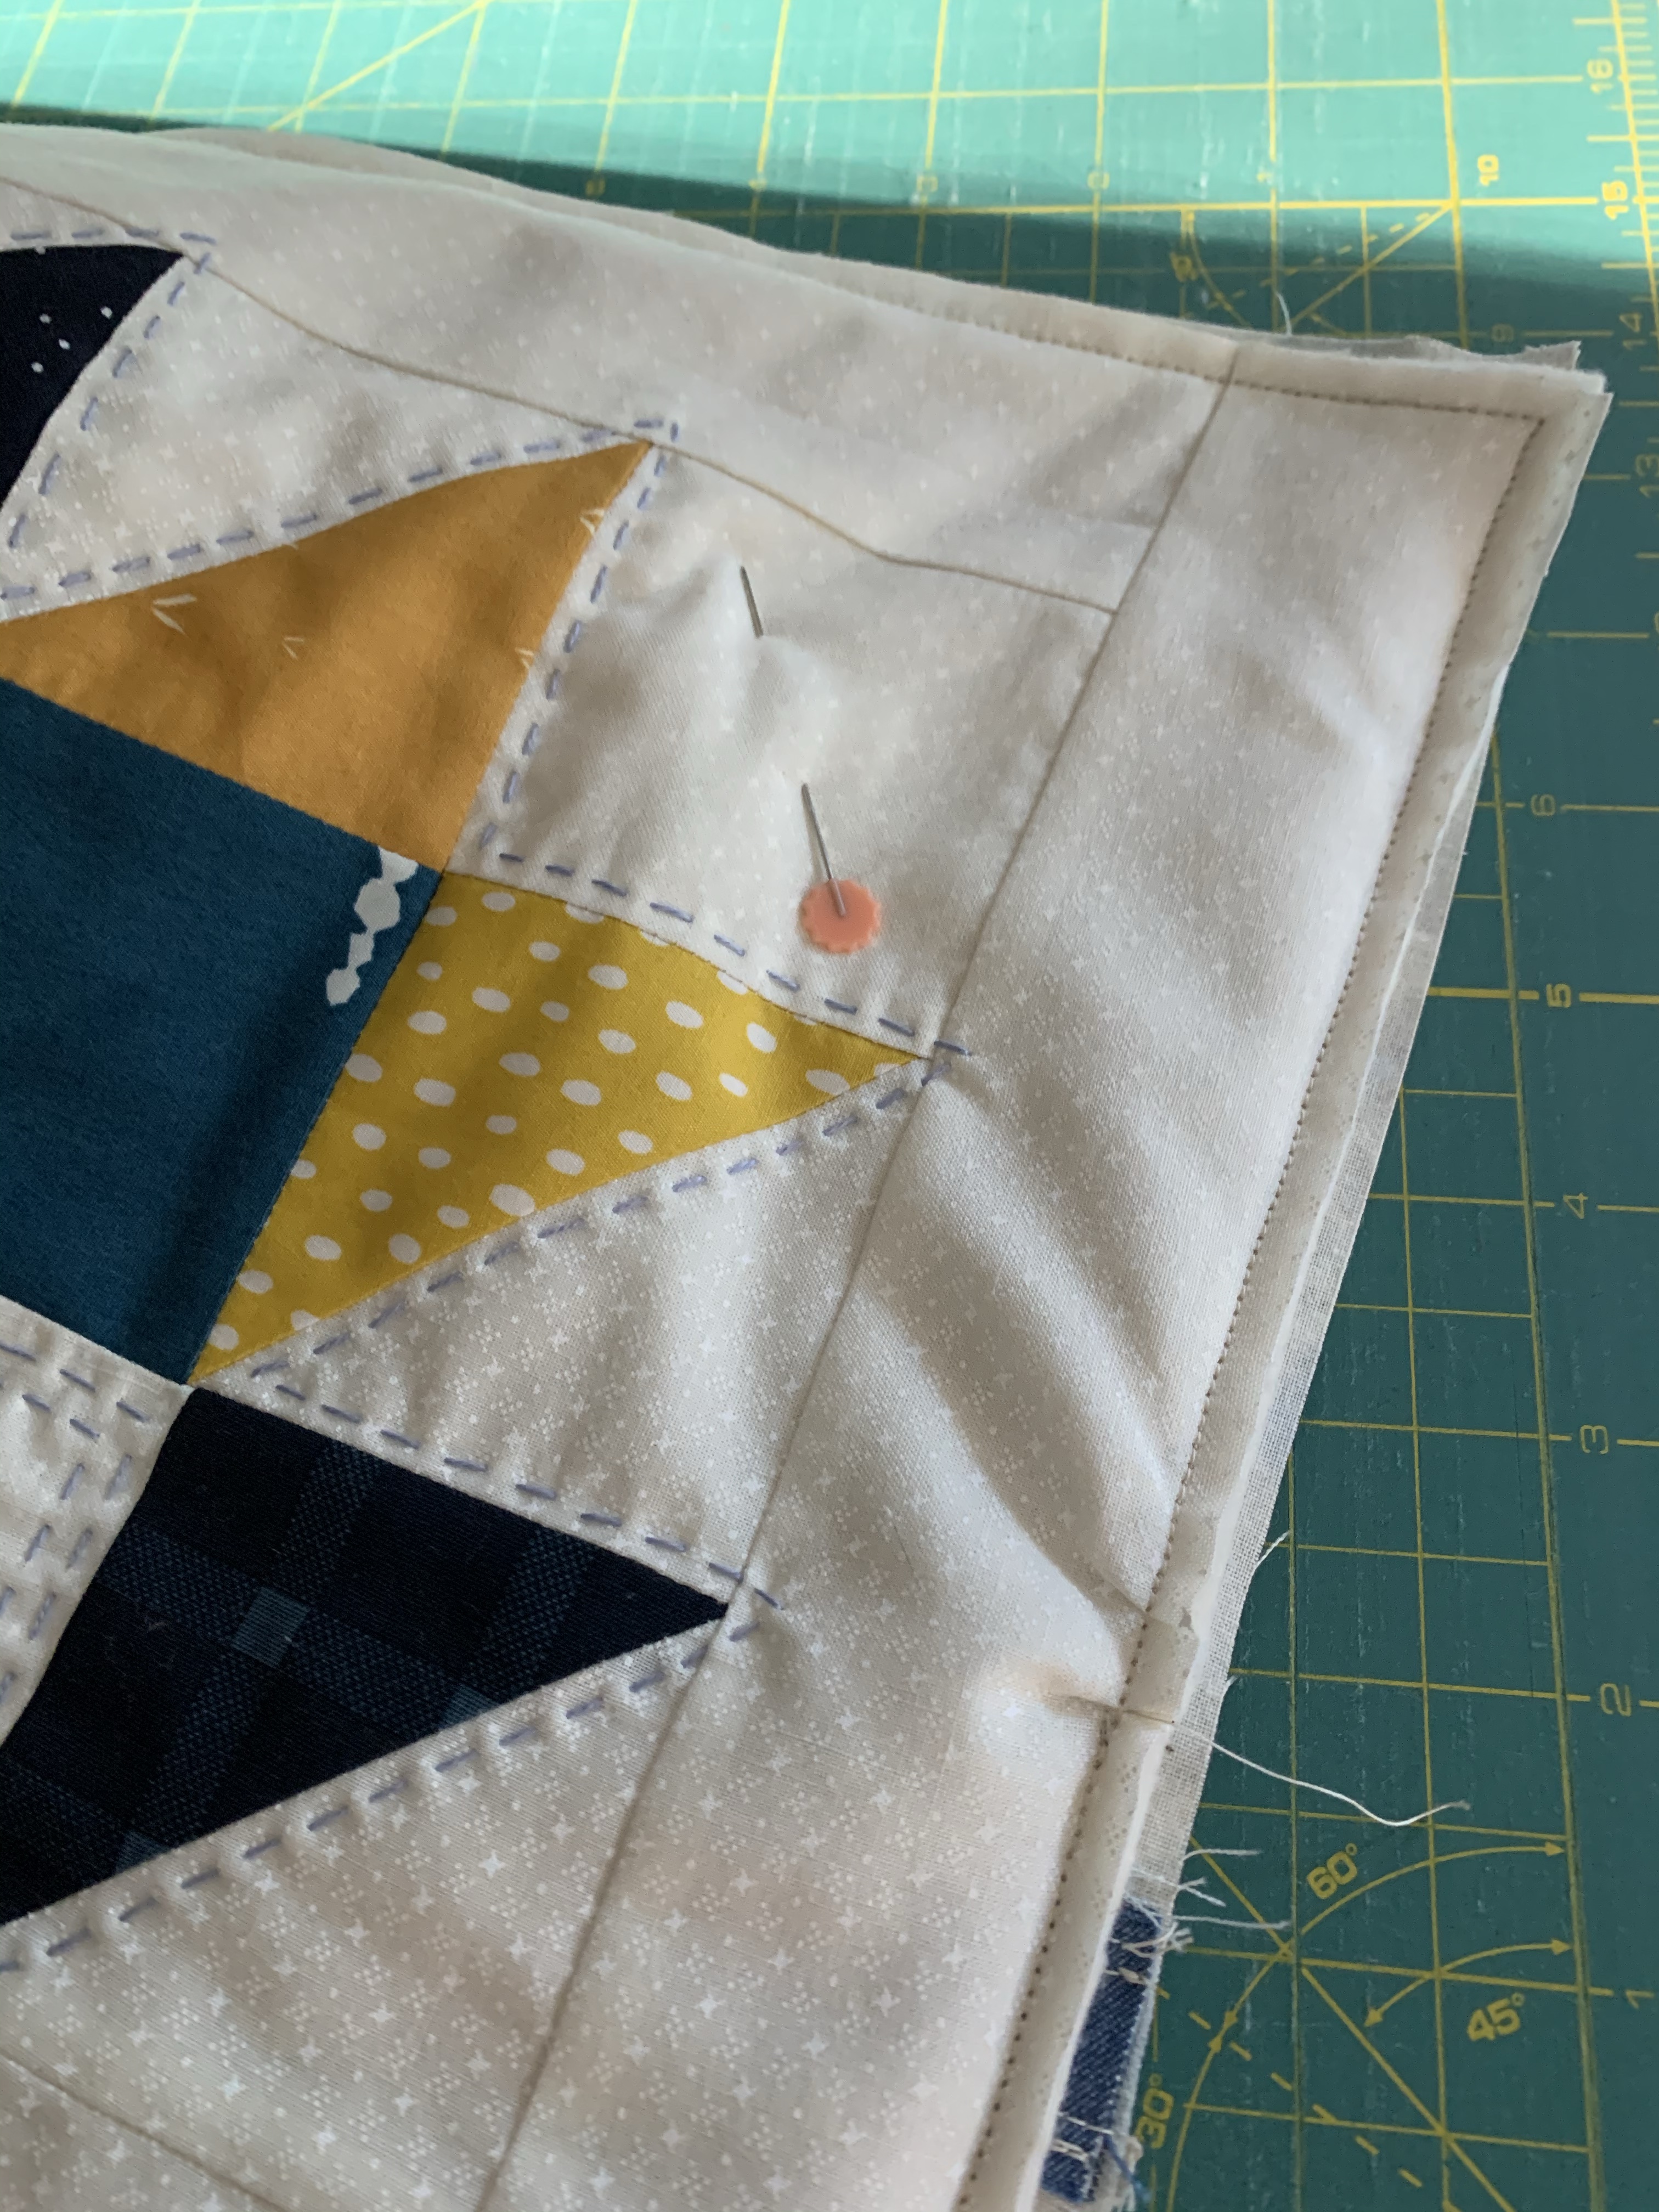
If you are going to add binding to your pillow, place the two pieces wrong sides together and pin. If you are going without binding, place the pieces right sides together and pin. Don’t forget to open your zipper first! Regardless of the method you choose, my advice to you is PIN WELL.

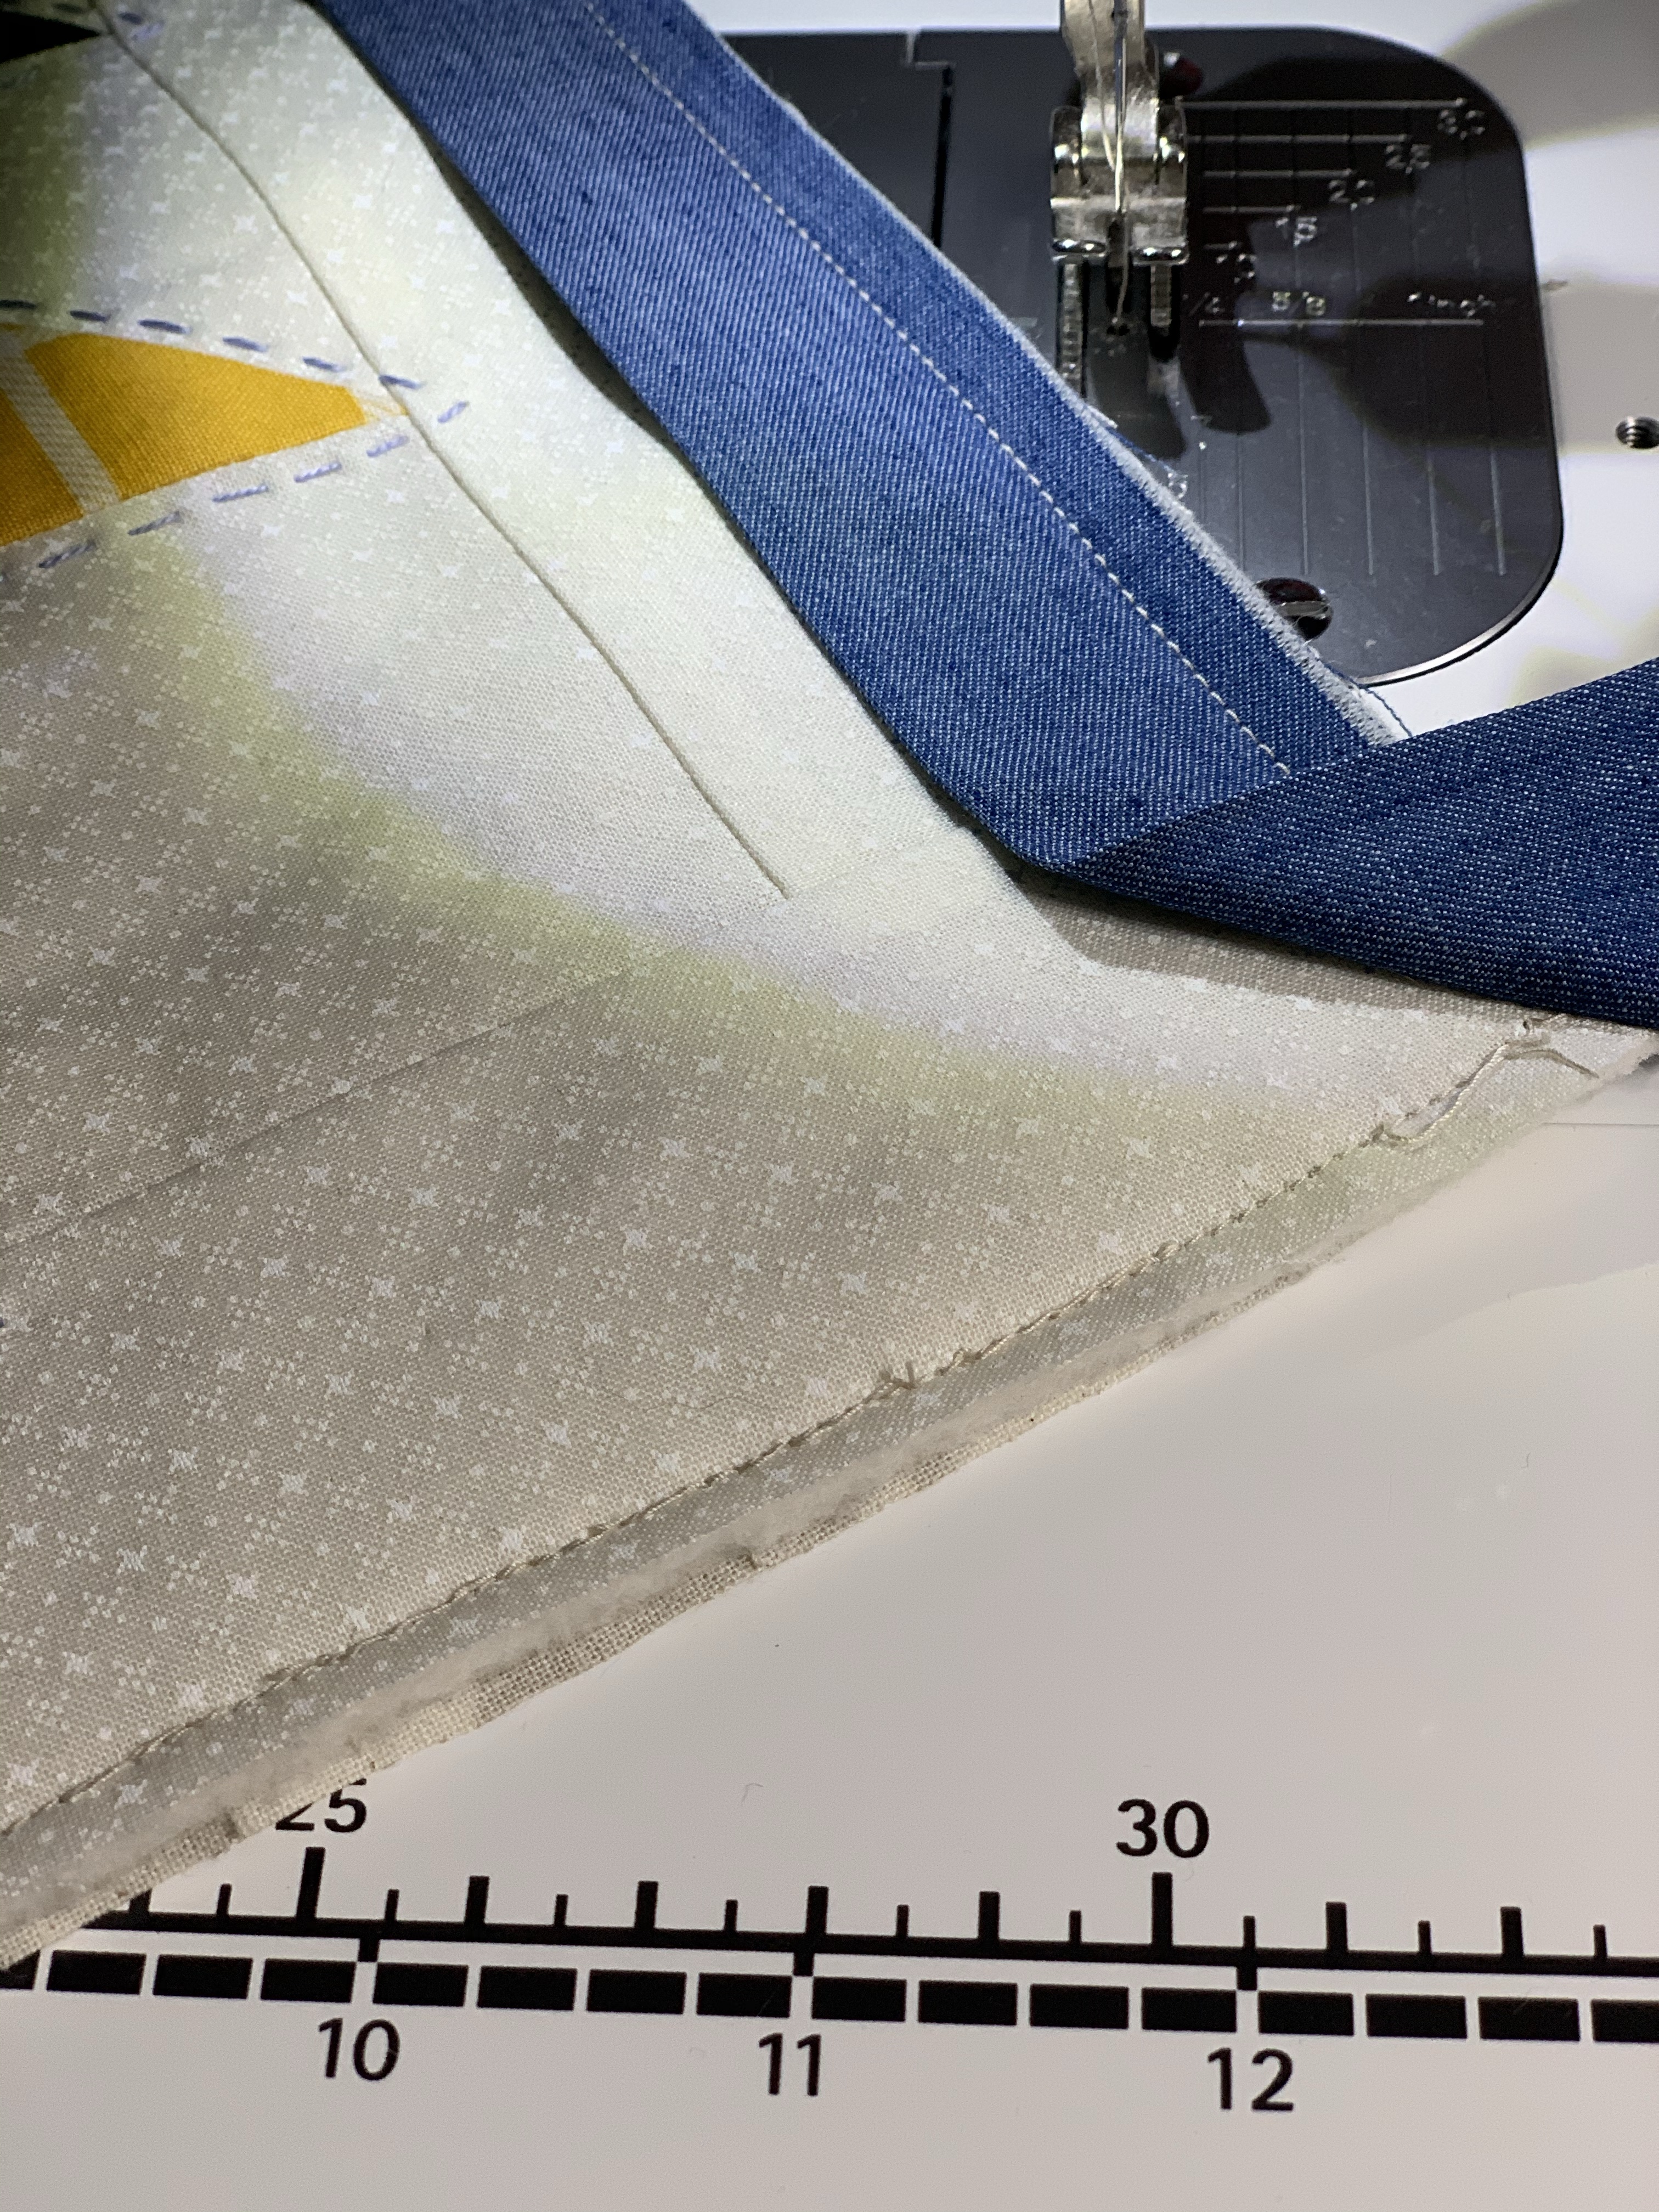
I did not the first time I tried to attach my pieces and this was the result which required some quality time with my seam ripper.
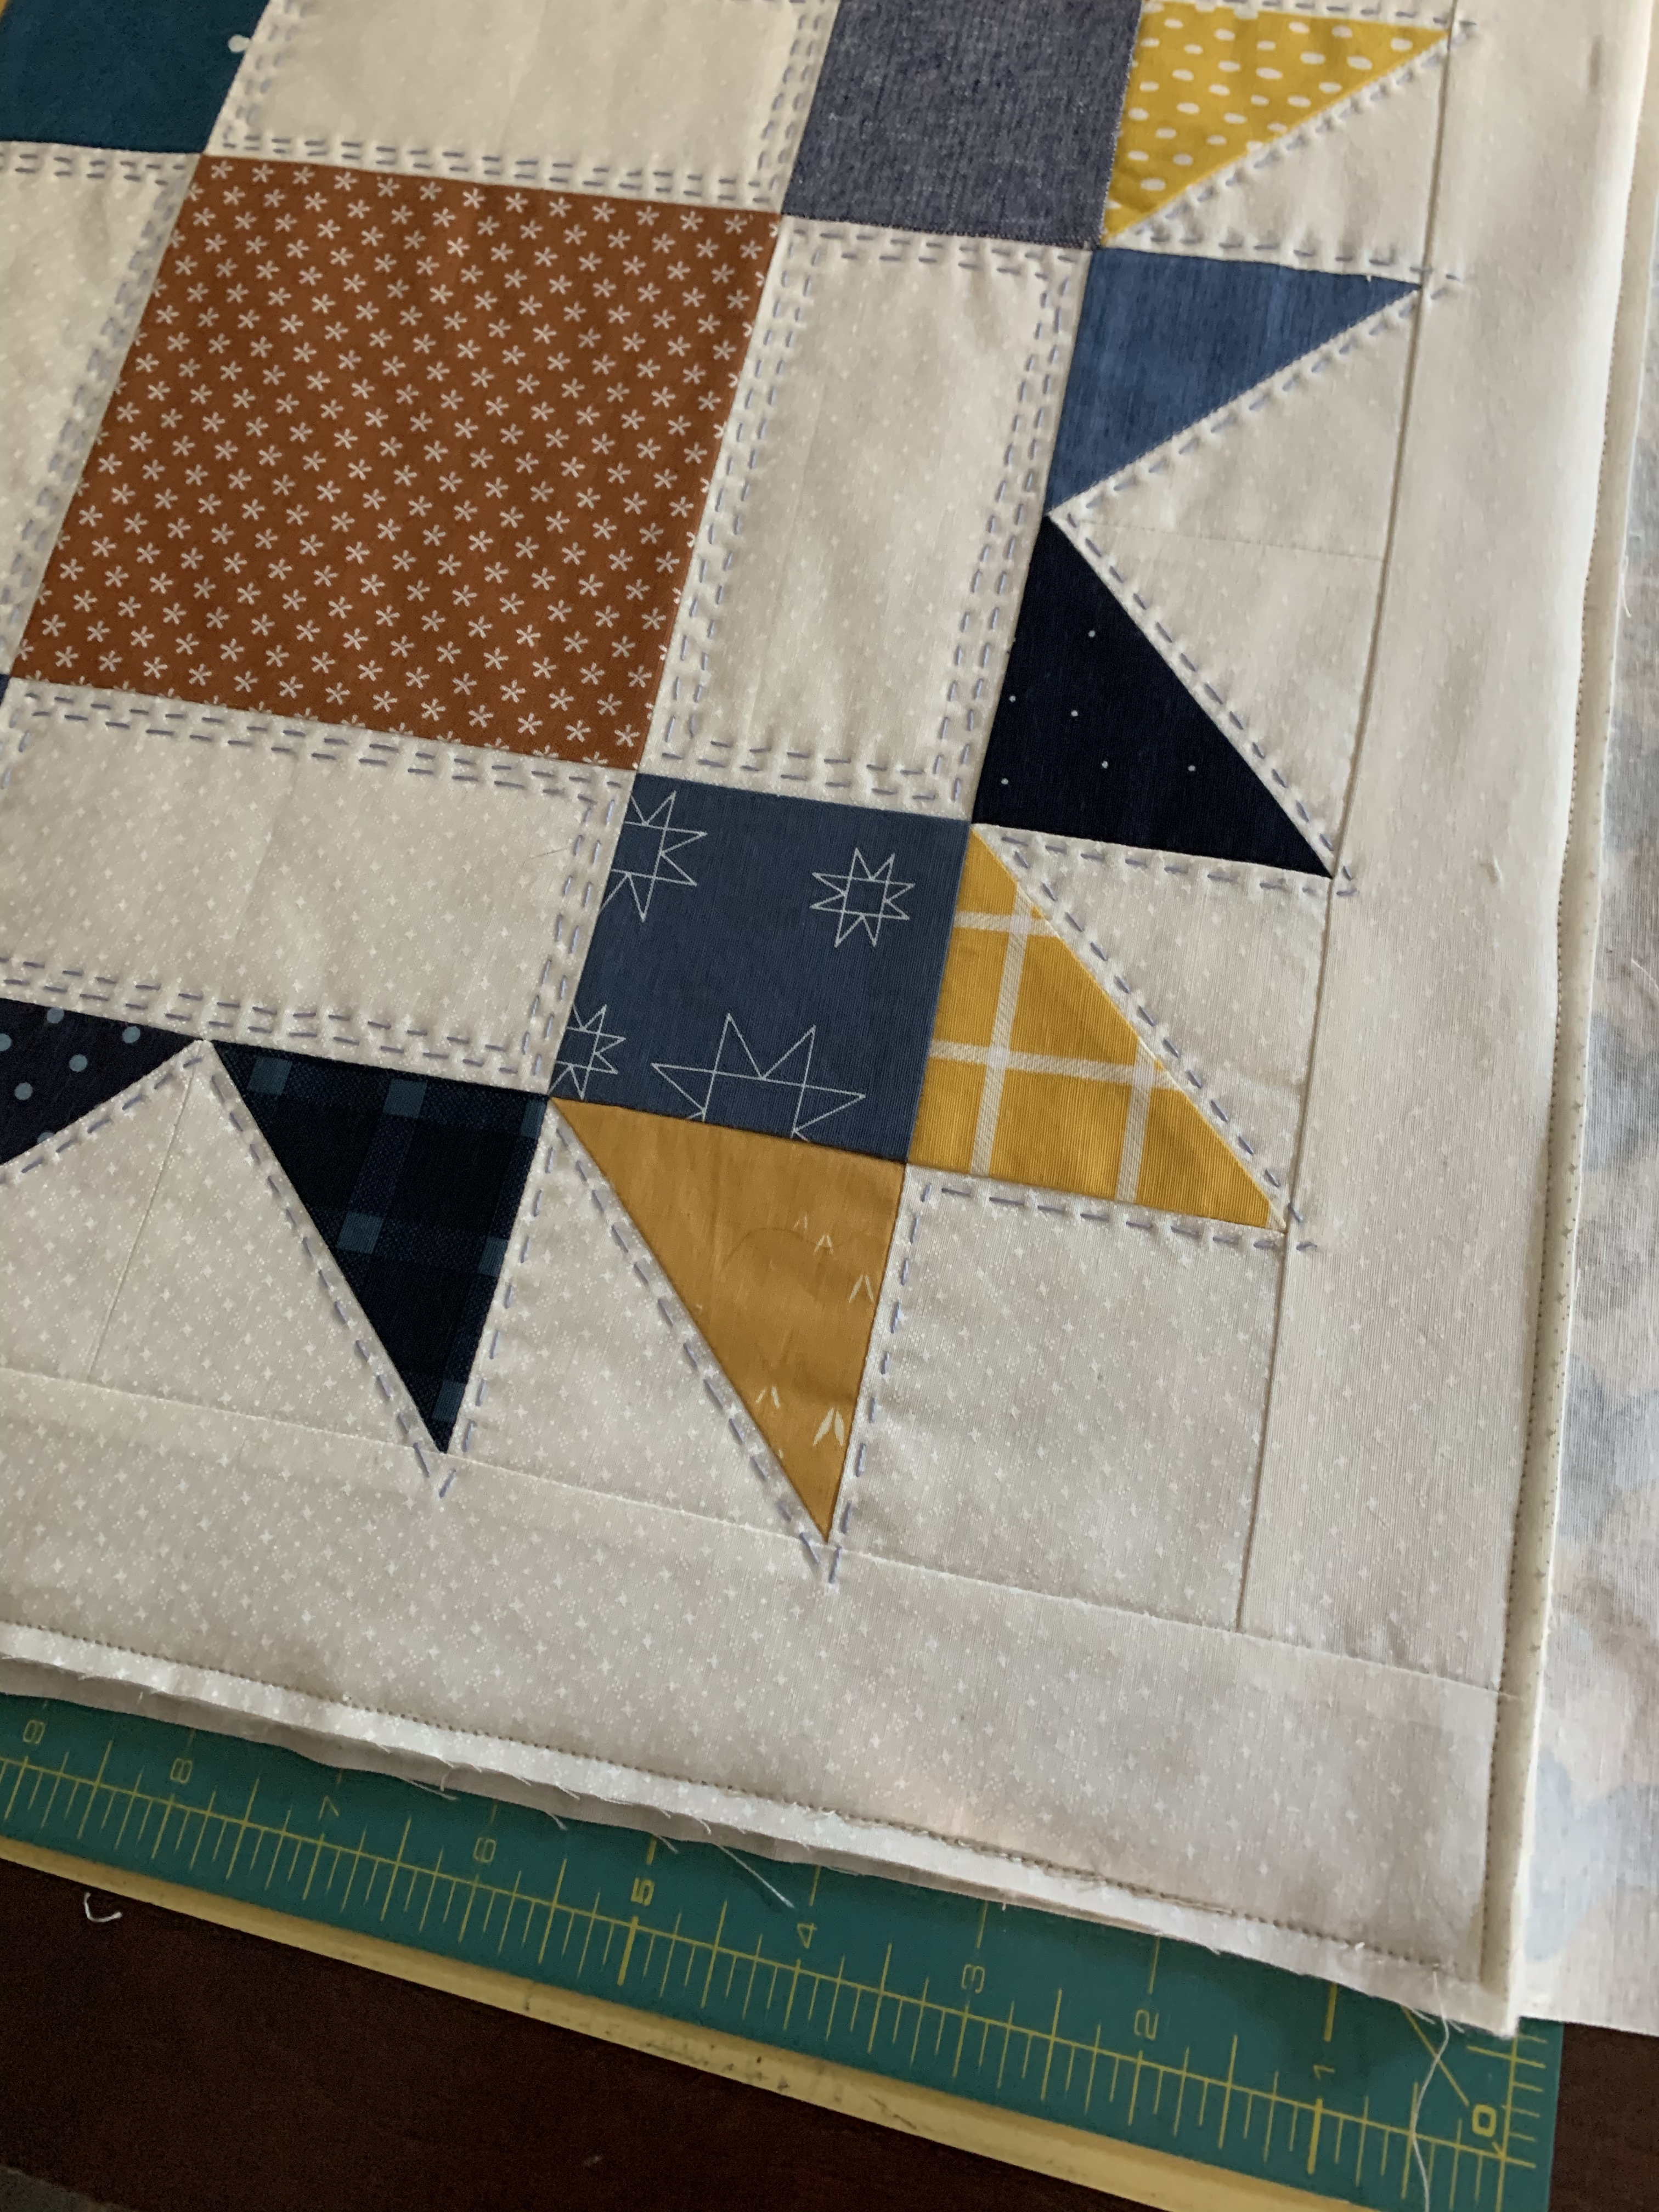
Once you have pinned your heart out, go slow being sure the pieces don’t shift and sew the pieces together 1/8 inch from the edge if you’re adding binding, and 1/4 inch if you are not. Once they are attached, give them a press again, and carefully trim away the excess backing fabric.
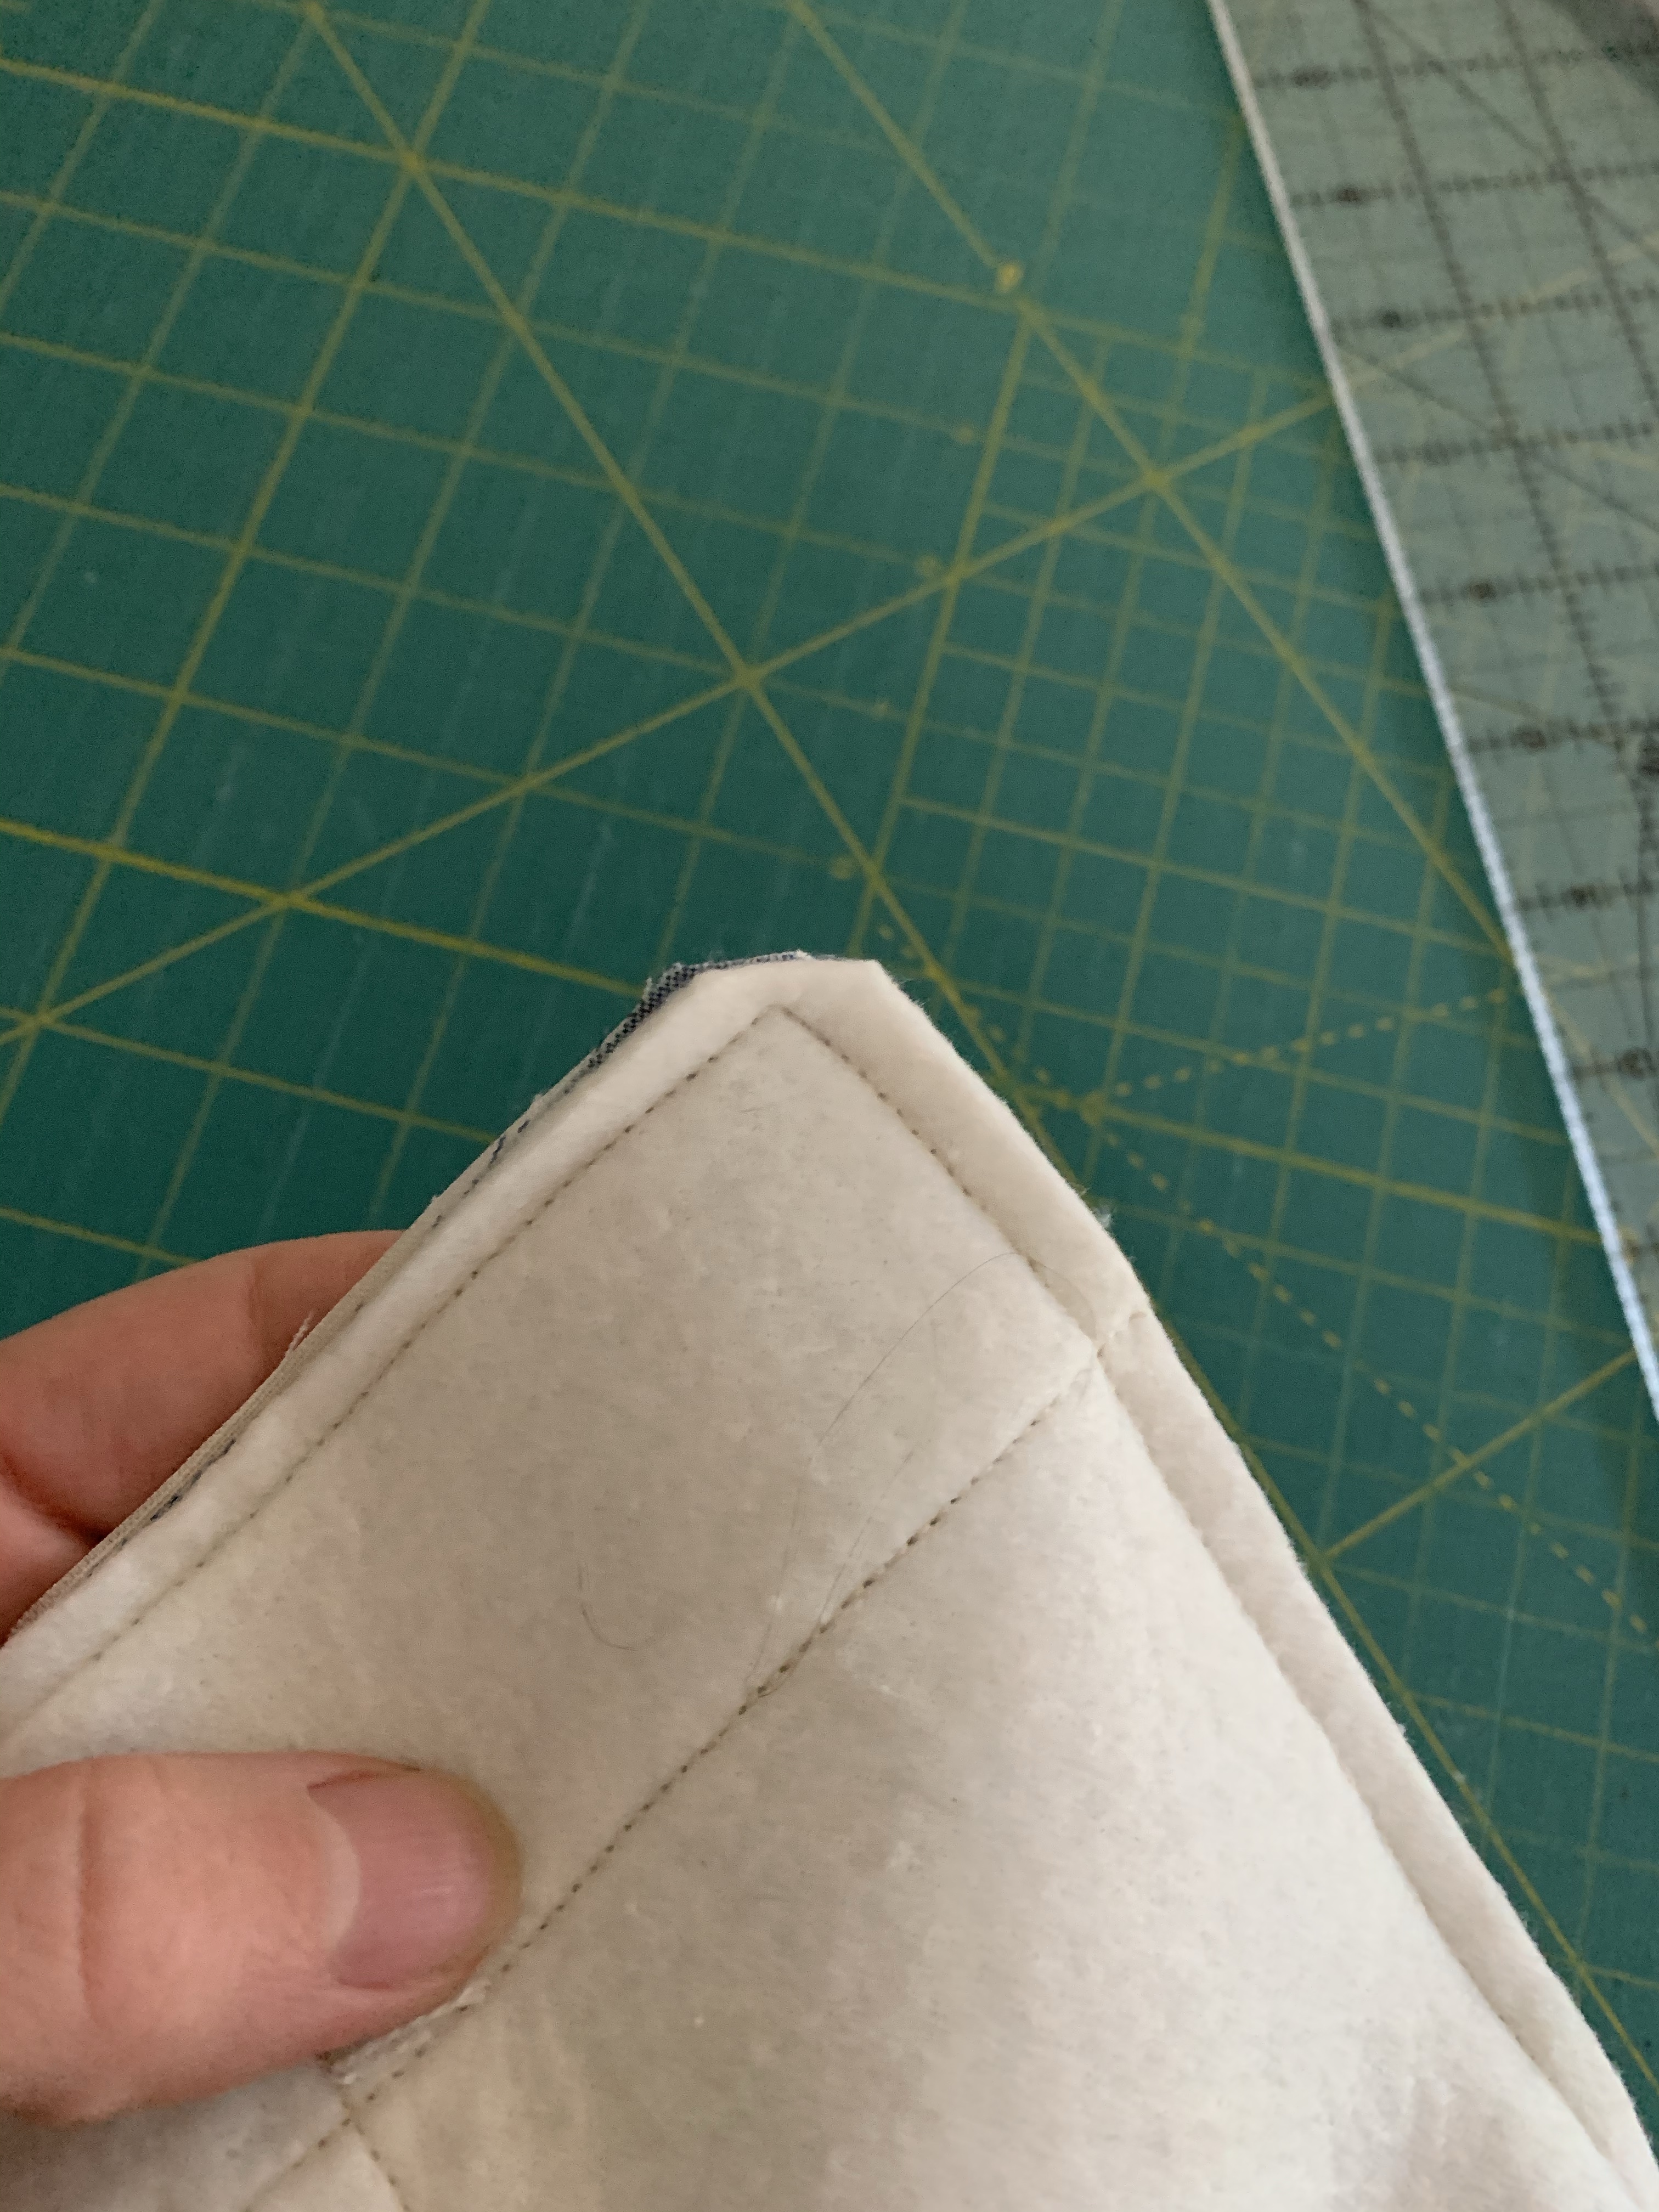
If you are not attaching binding, carefully trim the excess bulk away from the corners.
Otherwise, you’re ready to attach your binding using your favorite method. I am a hand binder myself most of the time, so I attached my binding to the front using a 1/4 inch seam and then hand sewed it to the back of my pillow cover.
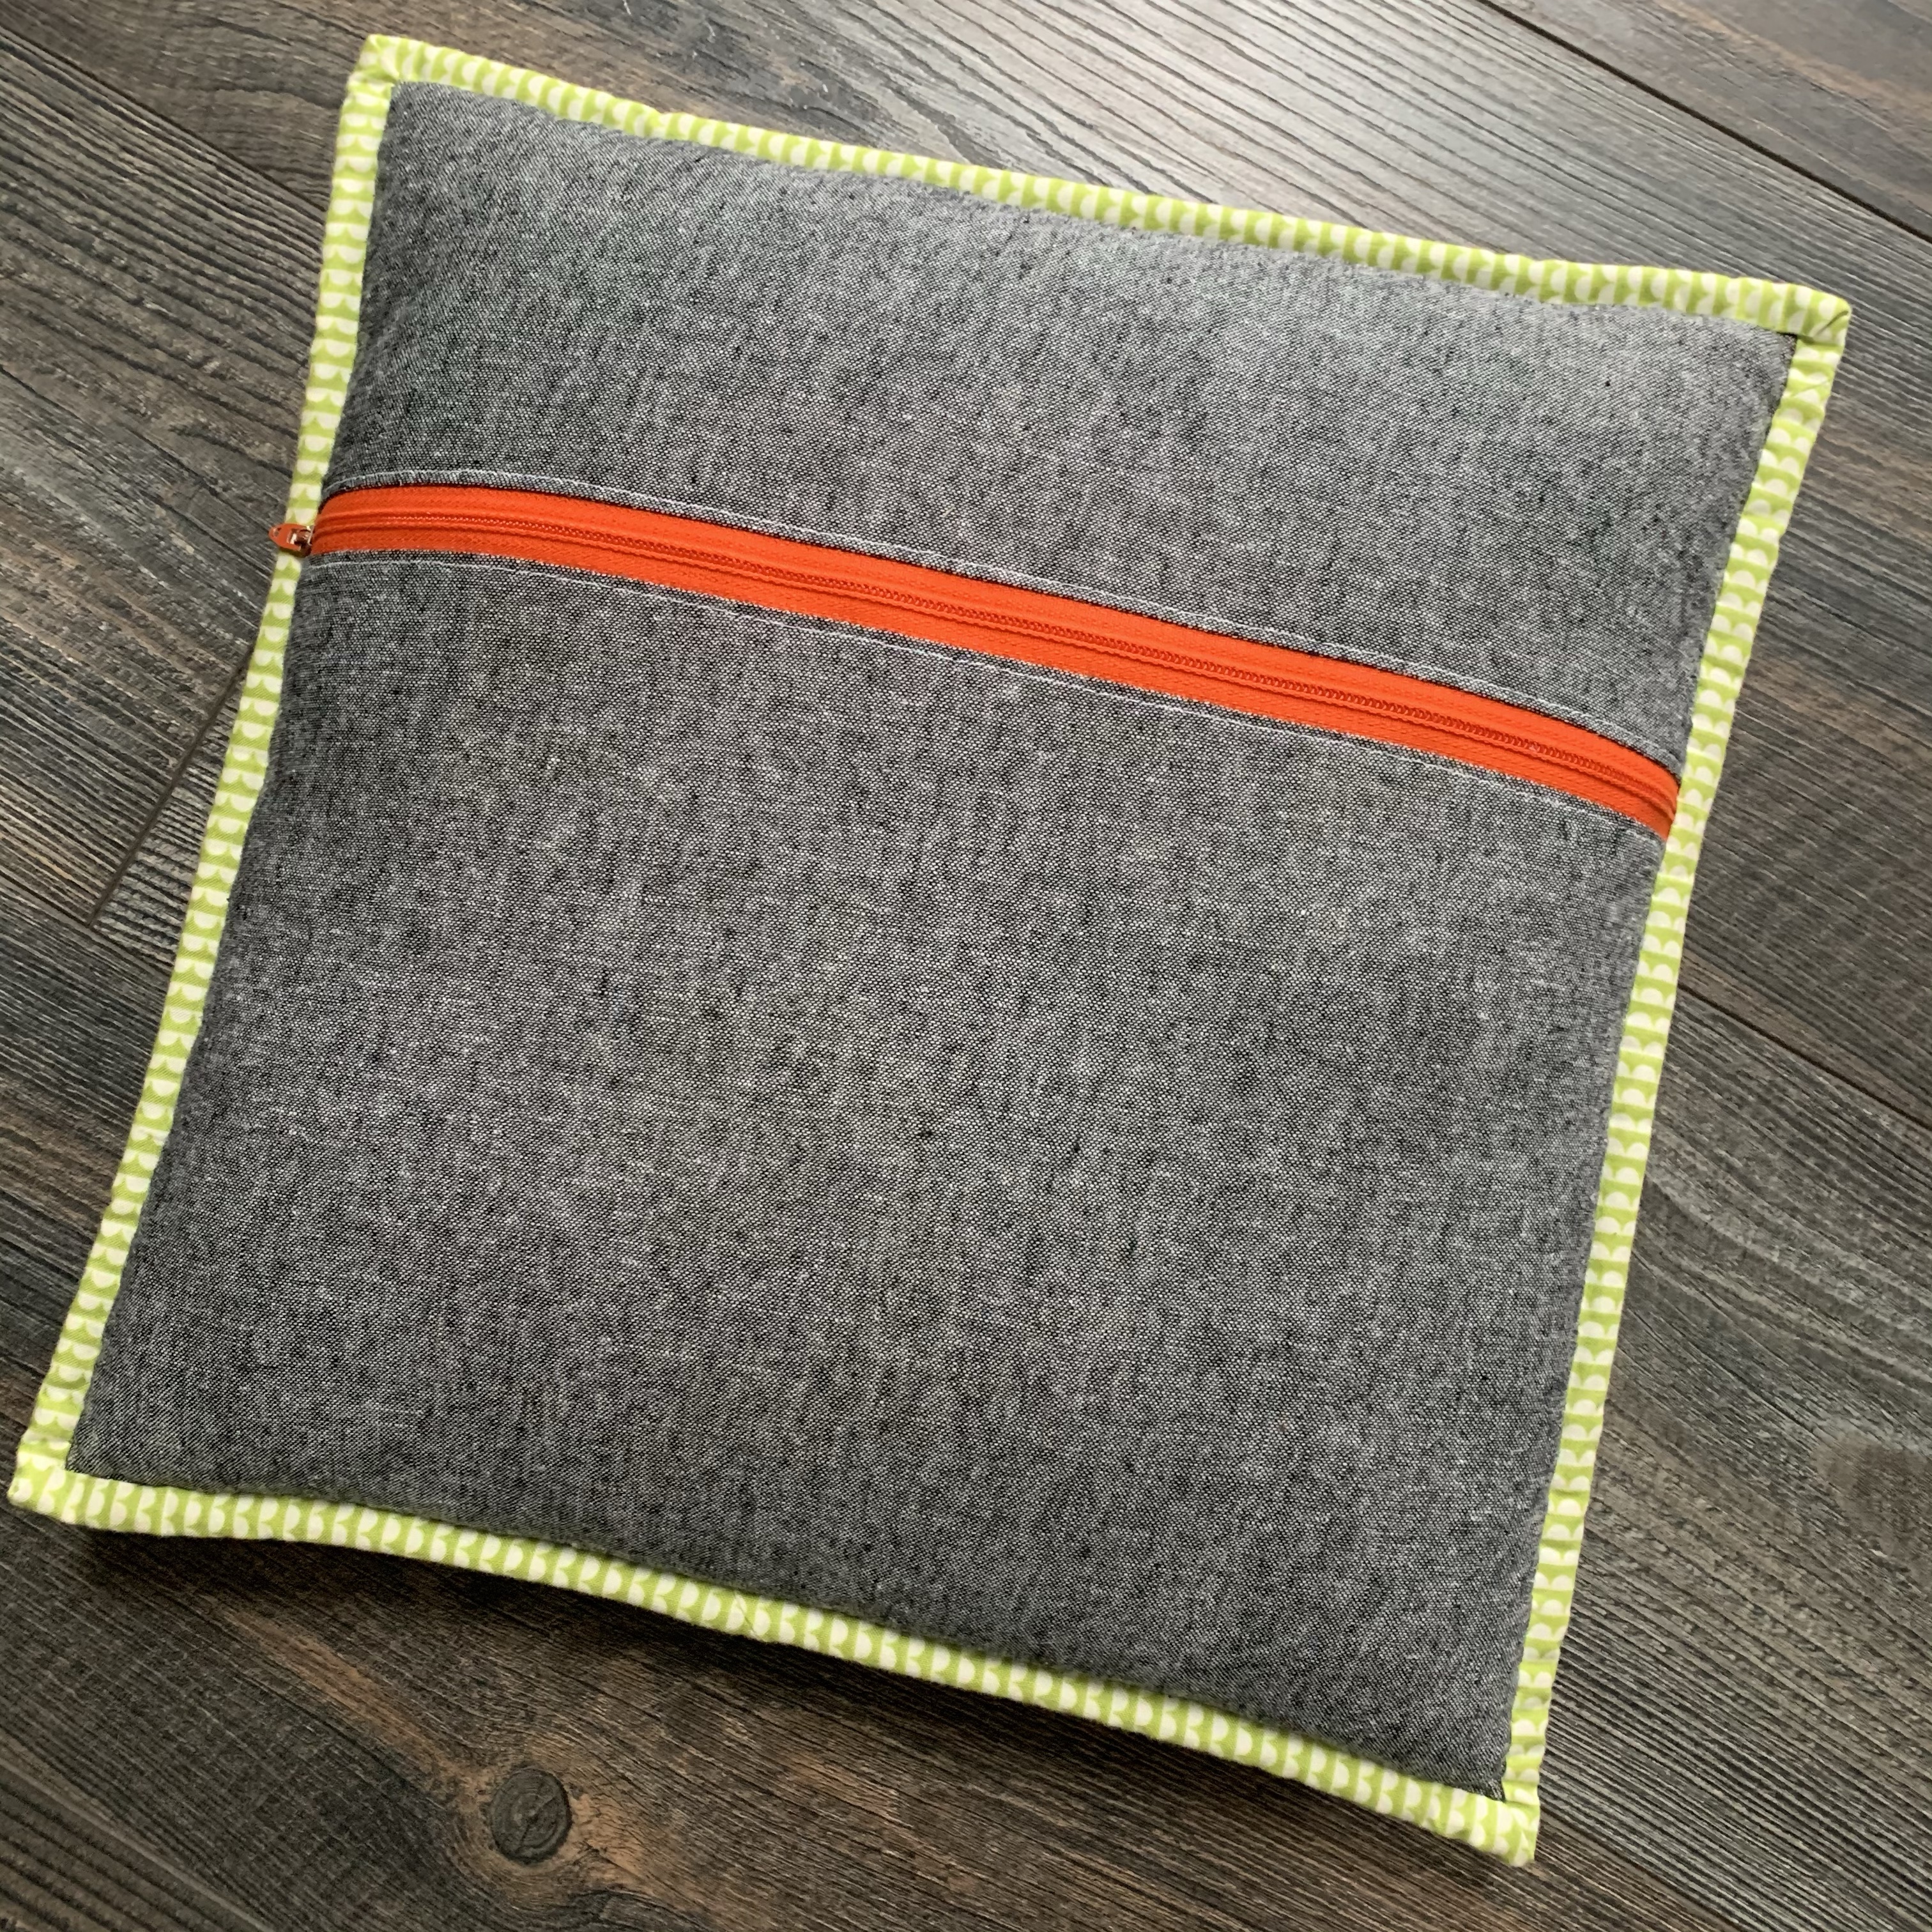
There you have it! A finished pillow cover that fits nice and firm on that pillow form with no gaping back.

I love how this pretty pillow turned out and I am thinking this pattern would be great for featuring a cute Christmas fussy cut in the center. You can snag the Array Quilt pattern from Lou Orth Designs here (Affiliate Link)
I’ll leave you with some other pillow backs from my collection.
If you use my tutorial and post your pillow on Instagram, I’d love to see what you made. Tag me @quiltyobsession and use the #quiltyobsessiontutorial hashtag. Thanks for reading and happy pillow making!
